SD Card
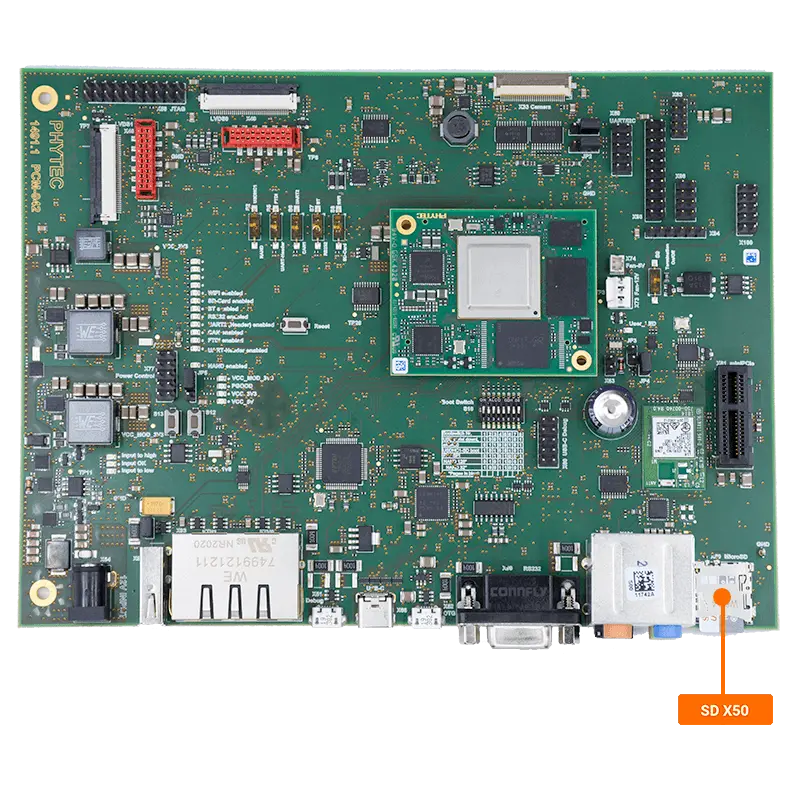
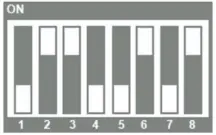
This guide will show you how to use and access the SD card interface on the phyCORE-i.MX8X development kit carrier board. In order to follow this guide, you will have to boot from the on-board eMMC. See the flash from eMMC for more information.

Requirements
SDHC SD card, at least 8GB for PHYTEC’s TISDK release image (Included in development kit)
Linux Host PC or Virtual Machine (Ubuntu recommended) (Only for Transfering Media from Host)
SD card reader (operational under Linux) (Only for Transfering Media from Host)
Hardware Setup
Mounting the SD Card
When an external SD Card is inserted into the development kit it is not mounted by default. It will be available as “/dev/mmcblk1”.
Expected Output[ 368.709002] mmc1: host does not support reading read-only switch, assuming write-enable [ 368.721029] mmc1: new high speed SDHC card at address 1234 [ 368.727454] mmcblk1: mmc1:1234 SA04G 3.64 GiB [ 368.734130] mmcblk1: p1
Create a temporary directory and mount the sd card.
Target (Linux)mkdir /home/root/temp mount /dev/mmcblk1p1 /home/root/temp
Write to SD Card
Create a test file in your root directory and then copy the file to the SD Card.
Target (Linux)echo "Hello World" > test.txt cp test.txt /home/root/temp/
Read from SD Card
Copy the test file back from the SD Card to your root directory.
Target (Linux)cp /home/root/temp/test.txt read.txt
Make sure the data was not corrupted during the file transfers using md5sum.
Target (Linux)md5sum /home/root/test.txt /home/root/read.txt
Expected Outpute59ff97941044f85df5297e1c302d260 test.txt e59ff97941044f85df5297e1c302d260 read.txt
Unmount the SD Card
Warning
Make sure the SD Card is unmounted prior to physically disconnecting it.
Failure to do so may result in loss of data and corruption of files
umount /home/root/temp
