Quickstart
If you have just purchased a phyCORE-i.MX8X development kit, start your development here.
Basic Evaluation Requirements
This Quickstart guide walks through booting the phyCORE-i.MX8X development kit into Linux and how to establish a console session with it using a Windows Host Machine. Host system requirements are minimal for basic serial communication, and for the purposes of this Quickstart, any modern computer could be used. PHYTEC recommends using a native Windows environment to establish serial communication with the development kit and leaving the bulk of development tasks for a dedicated Ubuntu 18.04 build server or Virtual Machine.
Tip
Host system requirements for the more process-intense development tasks are detailed in the BSP Development guide, but you won’t need those Host system requirements to follow this Quickstart or to follow the Interface Guides.
Check the Board Configuration
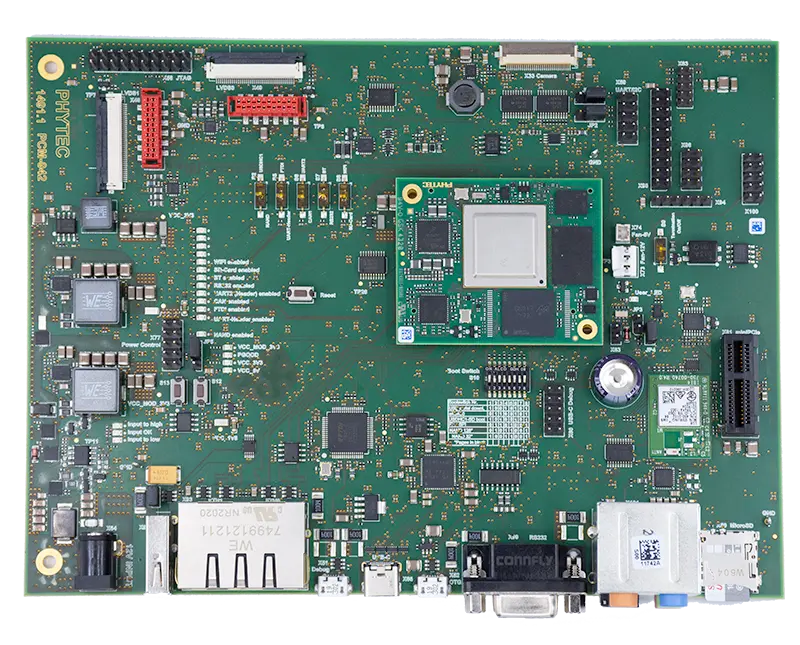
The board should have been pre-configured during manufacturing, but we will double check it together as an exercise:
Press firmly down on the SOM with equal pressure on both sides to ensure that it is seated properly
Ensure that an SD Card is inserted into the SD card slot. This SD card was flashed during manufacturing and should feature the latest phyCORE-i.MX8X Linux image.
Check that the configuration switches (S2, S5) are set to ON. These ensure that both the SD Card slot (X50) and the primary debug port (X51) are enabled.
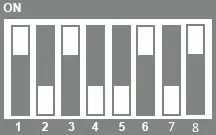
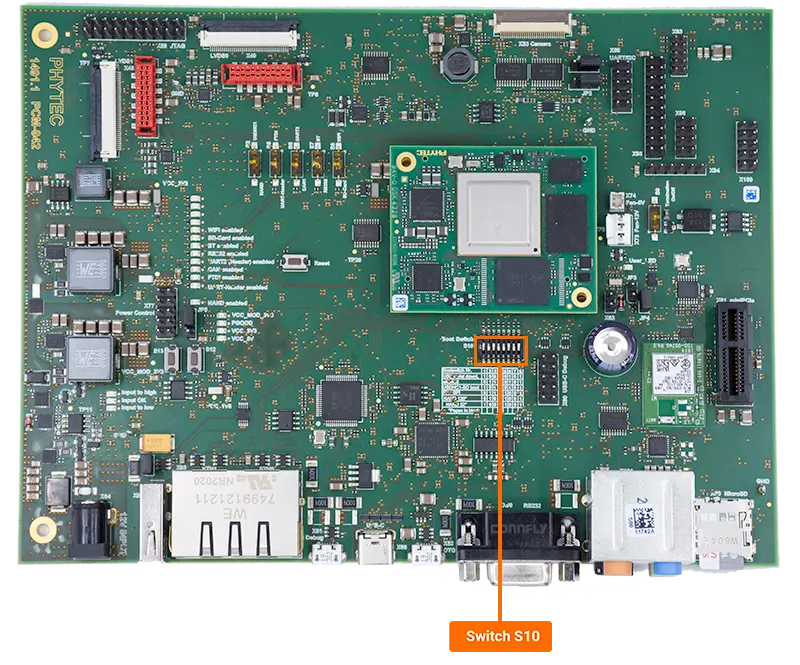
Check that the boot switch (S10) is set to boot the system from SD card.
SD Boot Settings
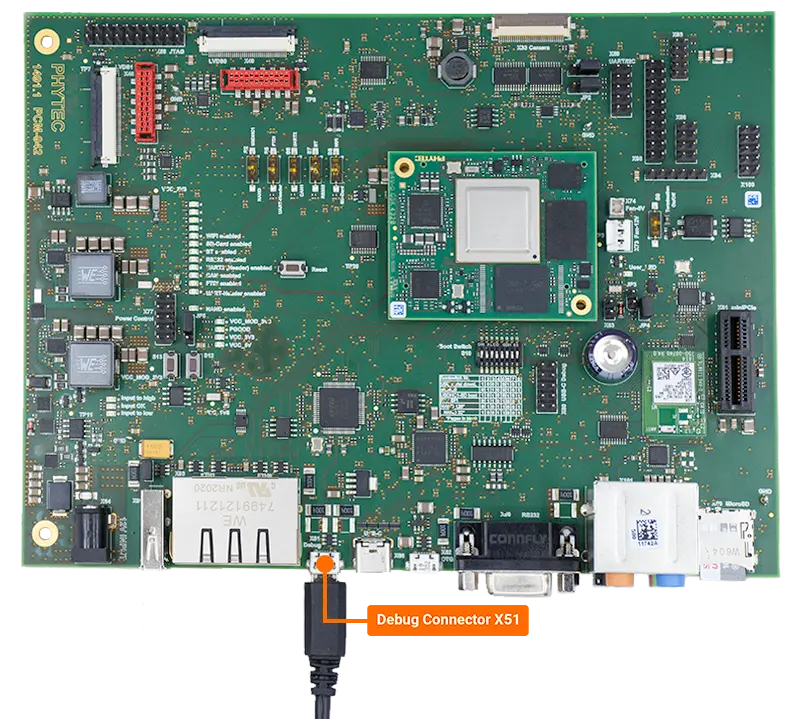
Serial Communication Setup
Connect the provided micro-USB serial cable to the debug connector (X51) on the development kit and the other end to a USB port on your Host Machine.
Windows 10 Instructions
Tip
If your native operating system is something other than Windows 10, please feel free to reach out on PHYTEC’s Support Portal for more options and instructions.
After the phyCORE-i.MX8X development kit is connected to your windows host machine, you will need to determine the COM ports associated with it.
Open your system’s Device Manager and expand Ports (COM & LPT).
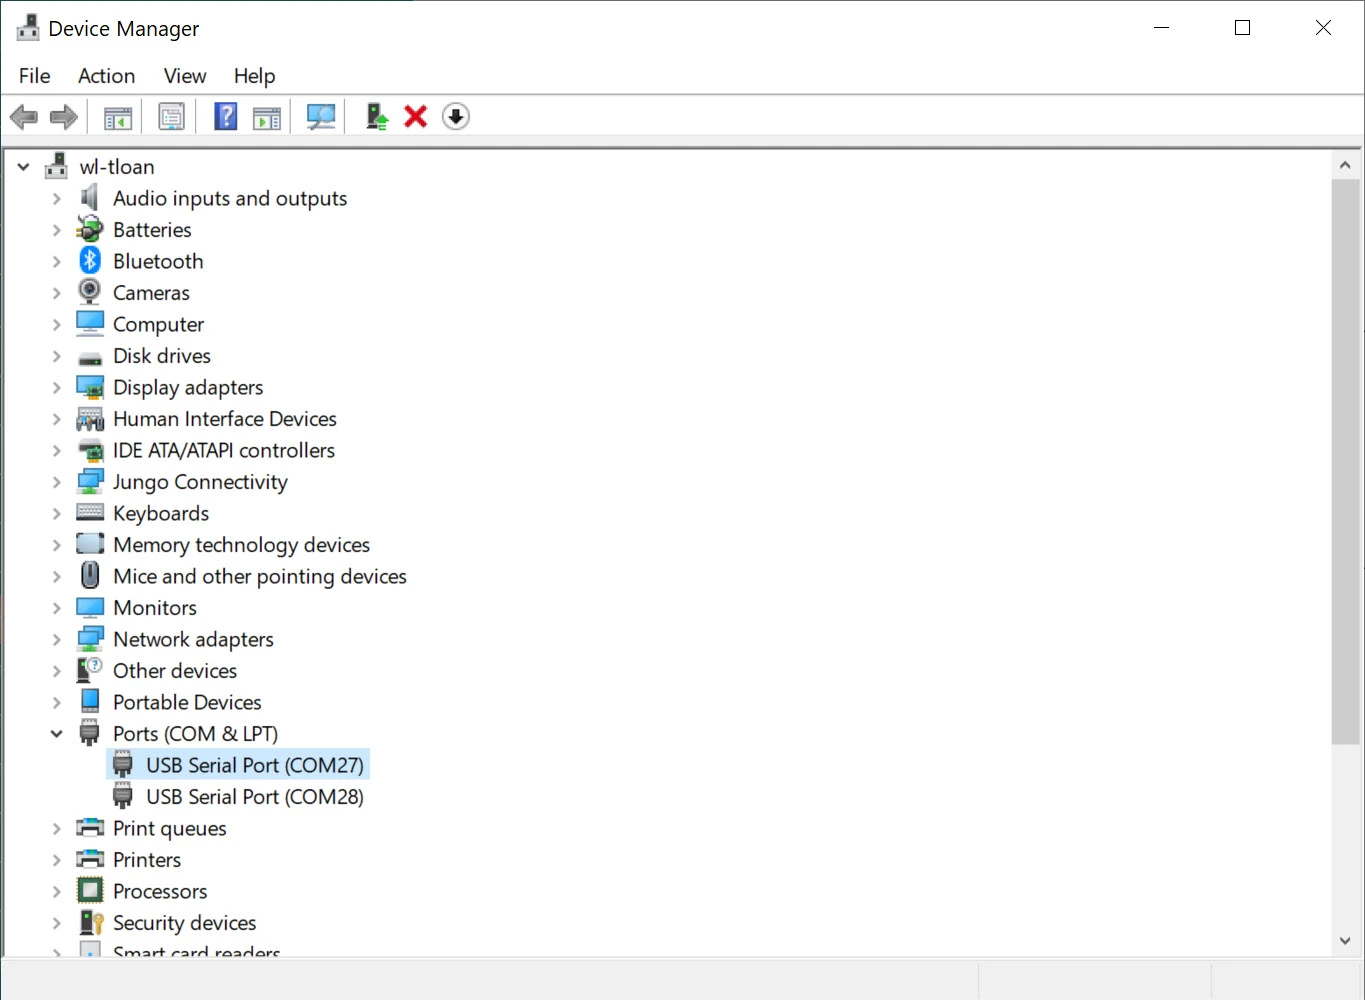
Note the COM port number of the 1st “USB Serial Port” device, there should be two that appear.
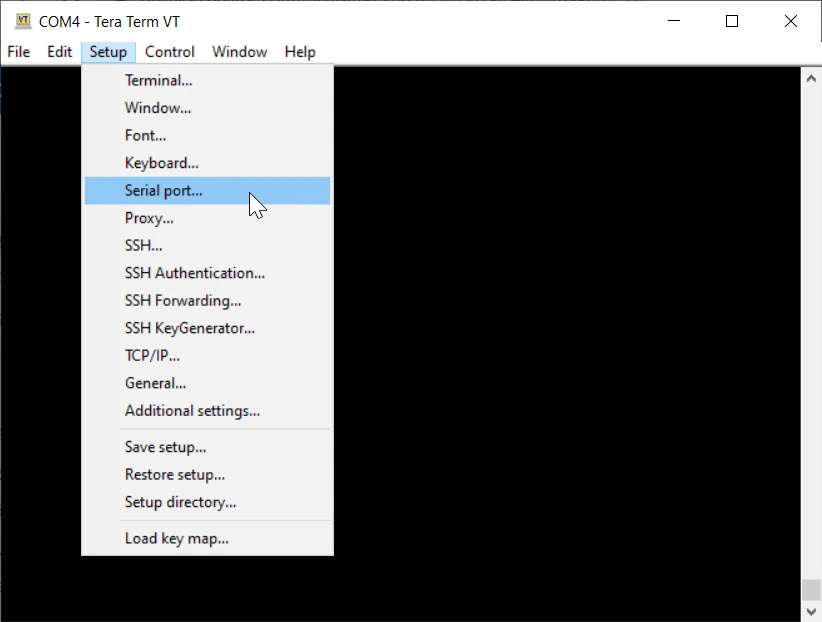
Configure your Terminal Session:
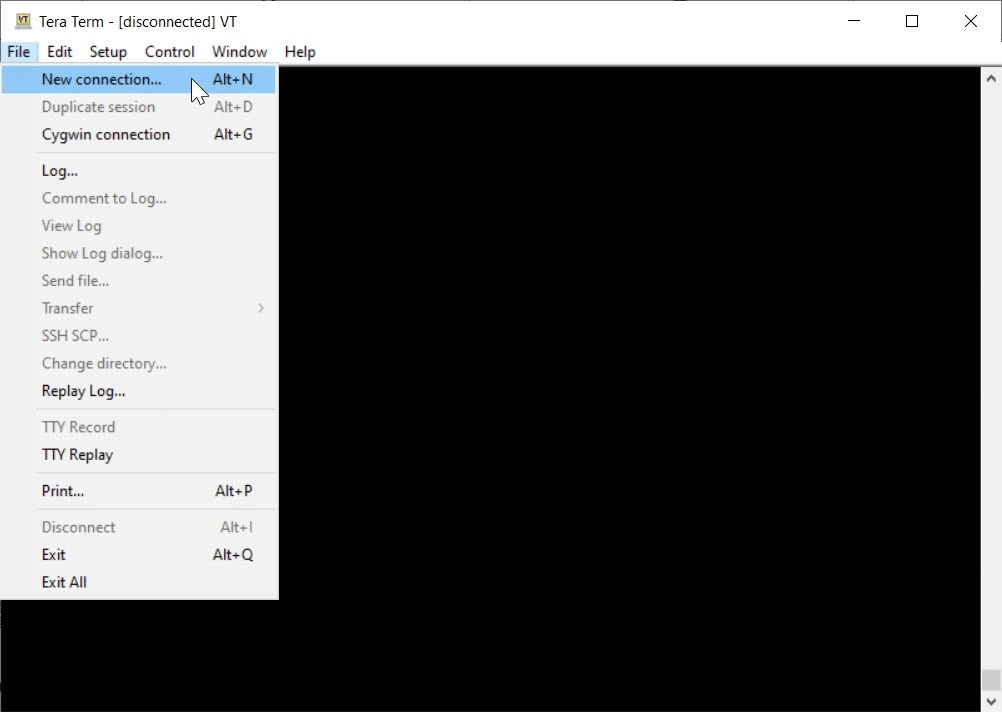
Download or open the terminal emulator of your preference. There are many options such as PuTTY and TeraTerm.
Tip
This guide will use TeraTerm. Configuration of your terminal will vary slightly depending on the terminal emulator software you are using.
Create a new session using your preferred terminal emulator and specify the COM port to connect to (found in previous steps):
Tip
The COM port will most likely be the second of the two COM ports but you may want to setup a terminal for both the first time.
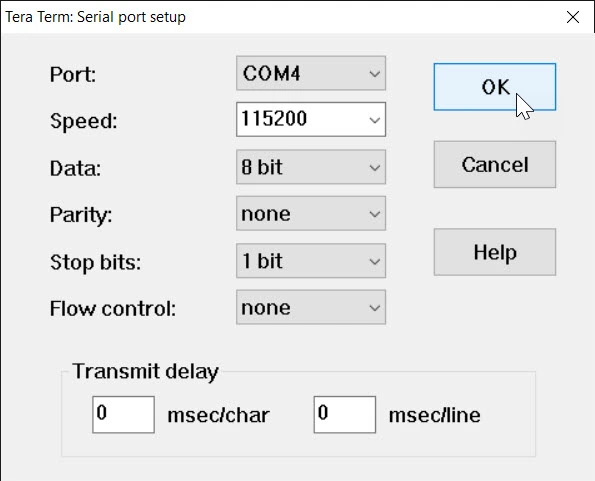
Other parameters include: 115200 Baud, 8 bit data, no parity bits, 1 stop bit and no flow control.
Once you have an empty terminal session, your host system is effectively listening for console data over the COM port you selected. The documentation for the phyCORE-i.MX8X, outlined throughout this wiki, will generally refer to this serial session as the “Target Console”.
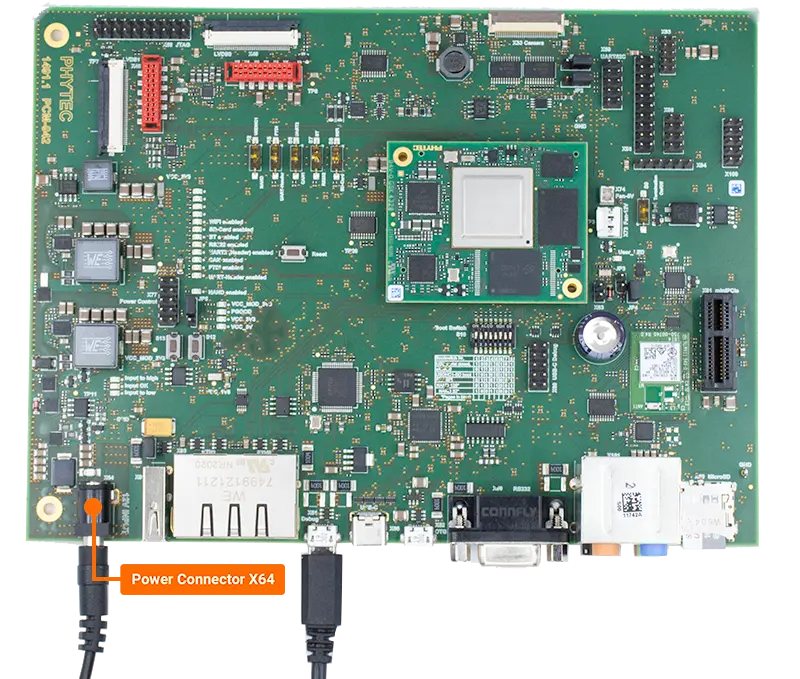
Power the Board
Use the included power supply (12V/2A) to provide power to the phyCORE-i.MX8X development kit’s X64 power connector. The system will automatically boot.
On your serial console you should reach a login prompt.
imx8x-phycore-kit login:
Login using “root” (no password is required).
Tip
You may find that commands and text in the terminal wrap over themselves if they extend too far on a single line in your Terminal Window. To improve usability and to prevent text from wrapping over itself use the following command:
shopt -s checkwinsize && resize
Safe Shutdown
Before removing power from the development kit, you must make sure that the operating system has safely shutdown. This will help to avoid things like filesystem corruption which can prevent the hardware from booting the next time it is needed.
To initiate a shutdown run the following command:
poweroff
Once you have seen “Reached target shutdown” it is safe to remove power from the development kit.
Reached target Shutdown
Note
For technical support, please visit PHYTEC’s Support Portal!