CAN
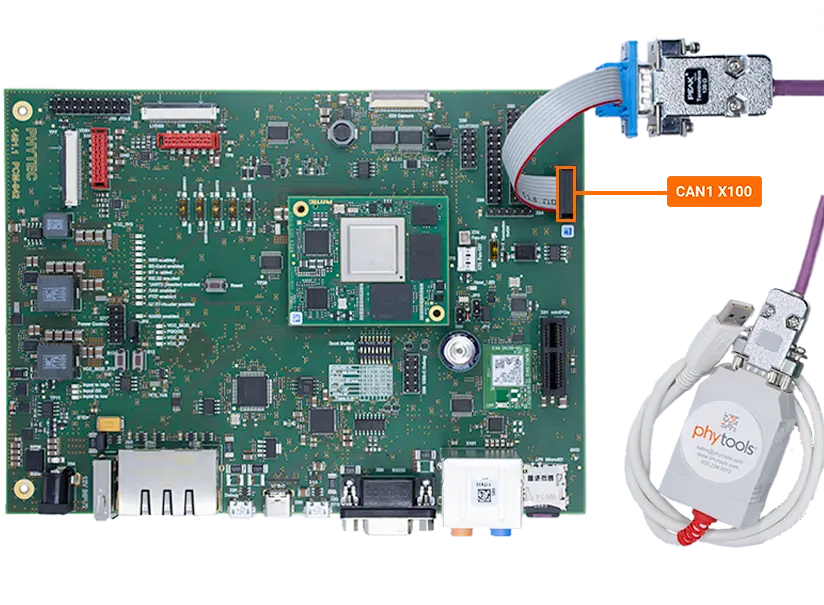
This guide will show you how to connect and test CAN on the phyCORE-i.MX8X development kit. The development kit provides a single CAN interface (CAN1) located at connector X100.
Note
UART2 (X99) and CAN1 (X100) cannot be used at the same time.
Requirements
DB9 Male 2x5 to RS232 Female Cable (Included in development kit)
Setting Up Hardware
Make sure the development kit is powered off.
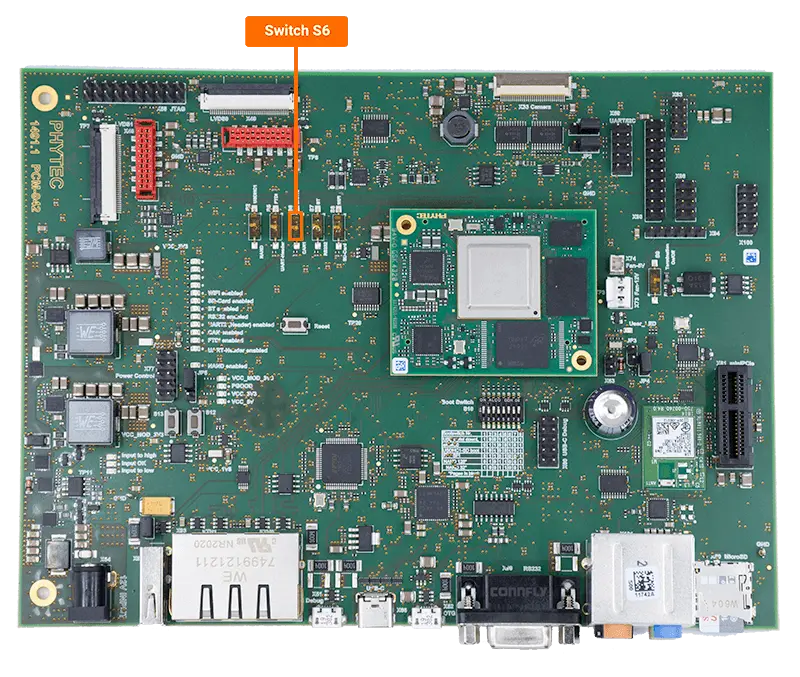
Make sure the configuration switch (S6) is set to the OFF position.
Connect the DB9 to 2X5 connector cable to the connector X100 on the development kit and one end of the CAN cable.
Connect the other end of the CAN cable to the PCAN-USB Adapter and the USB side of the adapter to your host PC.
Note
If you cannot find your device in the listed hardware, ensure that you have the correct driver installed on your host PC. You can obtain the driver here.
Setting Up Host PC with PCAN-View
Download PCAN-View from the link above.
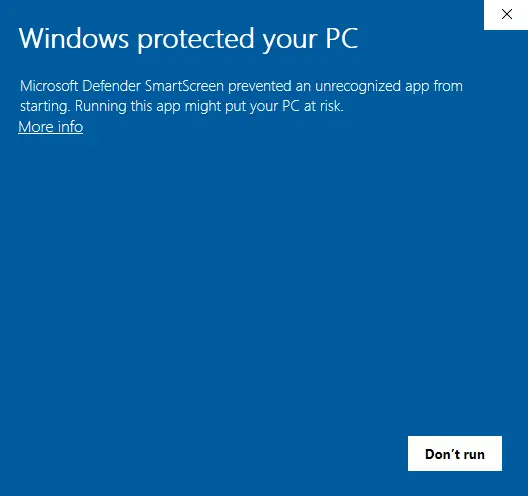
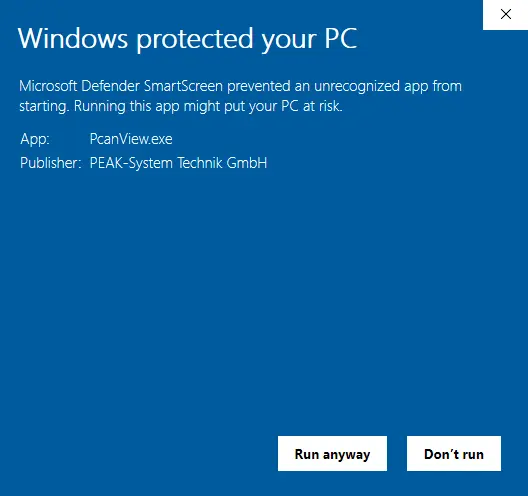
Extract the files to a desired location and run the executable. Windows may decide the file is a risk but clicking “More info” will allow you to run the program.
Once PCAN-View is open you should see your device in the list of available hardware. Set the “Bit rate:” field to 1MBit/s and click OK.
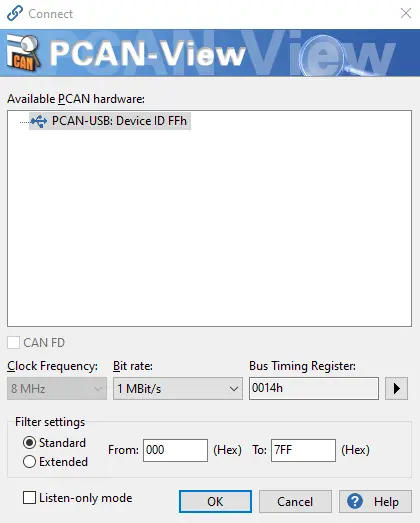
Setting the Bitrate
Double check the CAN cable connections, switch S6, and that PCAN-View detects your PCAN-USB device.
Power on the kit to get into the Linux console.
Configure the CAN interface with the same bit rate (1MBit/s) as the PCAN-View software.
Target (Linux)ip link set can0 down ip link set can0 up type can bitrate 1000000 ip link set can0 up
Sending CAN Messages
Use the “cansend” command to send data over the CAN bus.
Target (Linux)cansend can0 000#DE.AD.BE.EF.CA.FE.BA.BE
Verify that the data appears correctly in the “Receive” window of the PCAN-View software.
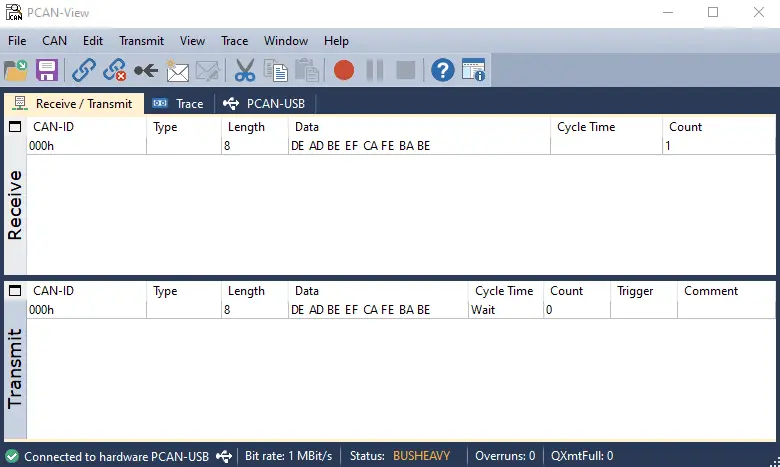
Receiving CAN Messages
Set up the test message in PCAN-View by going to the “Transmit” tab and selecting “New Message”.
Enter in “DEADBEEFCAFEBABE” as the hex data and then click OK.
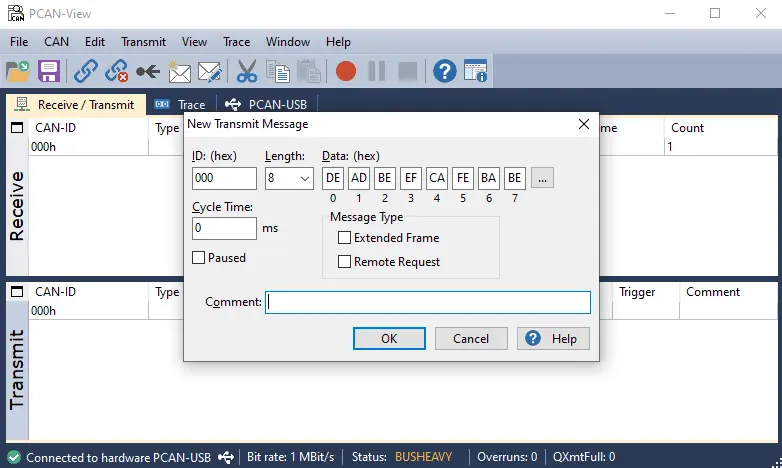
Use the “candump” command to allow the development kit to listen for incoming data from the CAN bus.
Target (Linux)candump can0
Select the message in the PCAN-View software and press space-bar to send the message.
The message should print to the development kit console.
Expected Outputroot@imx8qxpmek:~# candump can0 can0 000 [8] DE AD BE ED CA FE BA BE
Press Ctrl + C to stop the candump command.