HDMI
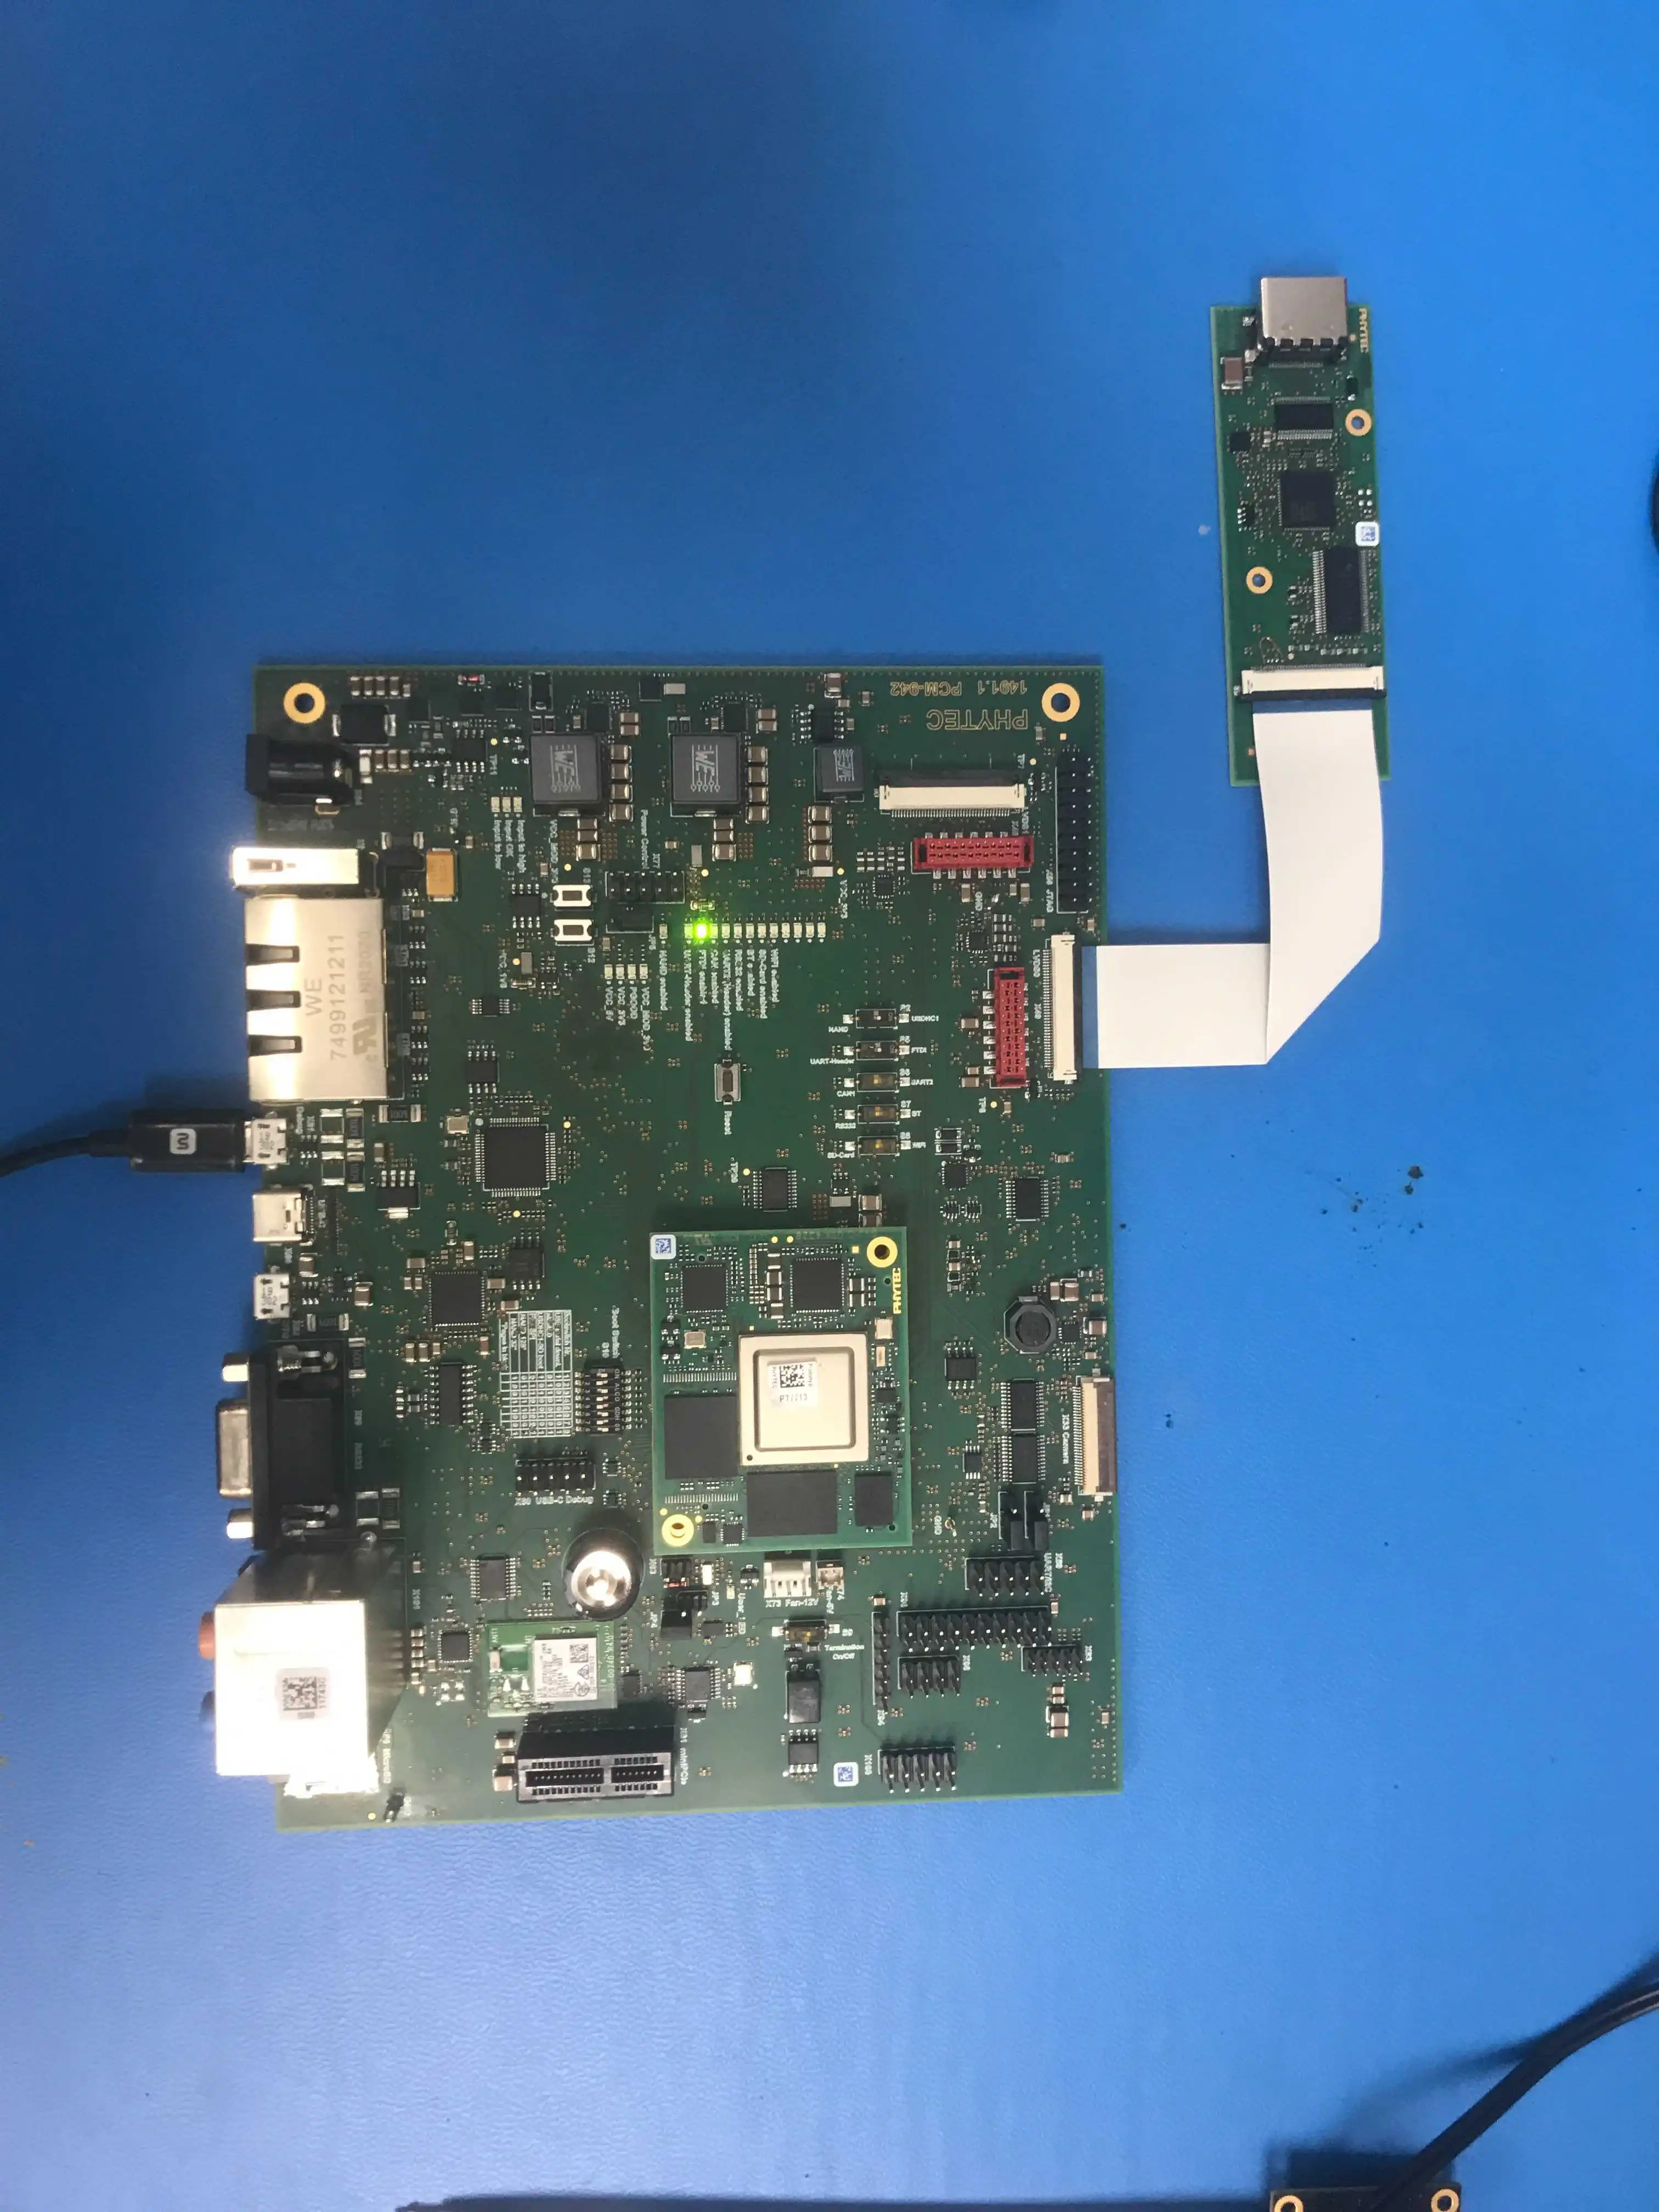
The PEB-LVDS-01, an LVDS-HDMI adapter, can be used with either the LVDS0 or LVDS1 interfaces of the phyCORE-i.MX8X development kit in order to connect a compatible HDMI display. This guide will walk through the setup and basic evaluation of the LVDS-HDMI adapter.

Requirements
PEB-LVDS-01
Note
The max resolution supported by the PEB-LVDS-01 is 1024x768 @ 60 HZ. This limitation is due to a bottle neck introduced by a chip used on the adapter itself, not the phyCORE-i.MX8X which is capable of Full HD at 1080p. A Full HD adapter will be available in the future.
Both LVDS0 and LVDS1 support the PEB-LVDS-01 adapter, we are just going to use the first in this guide.
Monitor with HDMI port
Hardware Setup
With the phyCORE-i.MX8X development kit powered off, connect the PEB-LVDS-01 adapter to the LVDS0 interface.
Connect the PEB-LVDS-01 adapter to a HDMI cable and a HDMI Display. A computer monitor will generally work fine for this.

Power on the development kit and stop in U-Boot when prompted.
Enter the following commands in U-Boot:
Target (U-Boot)setenv overlay_files phytec-imx8qxp-lvds0-peb-lvds-01.dtbo setenv mmcargs 'setenv bootargs console=${console},${baudrate} earlycon root=${mmcroot} video=card0-HDMI-A-1:1024x768@60' saveenv bootUpon booting into Linux and after logging in as root, open the weston.ini file using the Vi text editor:
Note
The vi text editor begins in “Command Mode” and you must first hit the ‘i’ key in order to enter “Insert Mode”. Using the arrow keys to navigate, make the necessary changes and then hit ESC to go back to “Command mode”. Now enter “:wq” to write the file and quit.
Pro Tip: Use the right click on your mouse to paste! This will only work if you are in “Insert Mode” first.
vi /etc/xdg/weston/weston.ini
Uncomment/add the following lines:
Target (Linux)[output] name=HDMI-A-1 mode=1024x768@60
Warning
Make sure you uncomment all 3x lines specified in the above code block. A common mistake that trips up people here is forgetting to uncomment the ‘[output]’ line.
Save and close the weston.ini file.
Reboot the phyCORE-i.MX8X development kit:
Target (Linux)reboot
Once booted into Linux, you should be able to see the Weston graphics framework on the display. Gstreamer can be used to place images and videos on the display:
Target (Linux)gst-launch-1.0 -v videotestsrc ! autovideosink
Note
If your HDMI monitor is not showing the Weston Graphics framework as expected, first try power cycling the monitor.
If the display still doesn’t detect a valid signal, it could be that the HDMI monitor you chose doesn’t support the output resolution. How can you find supported resolutions?
Using the following command to list the available resolutions:
Target (Linux)cat /sys/class/drm/card0-HDMI-A-1/modesOr use the following list of the available resolutions that the HDMI display is advertising:
1920x1080 1920x1080 1920x1080 1920x1080 1920x1080i 1920x1080i 1920x1080 1920x1080 1280x720 1280x720 1280x720 1024x768 1024x768 1024x768 800x600 800x600 800x600 720x480 720x480 640x480 640x480 640x480 640x480 720x400
Repeat the above steps outlined in this guide using the next available resolution supported by the display and which doesn’t exceed 1024x768.