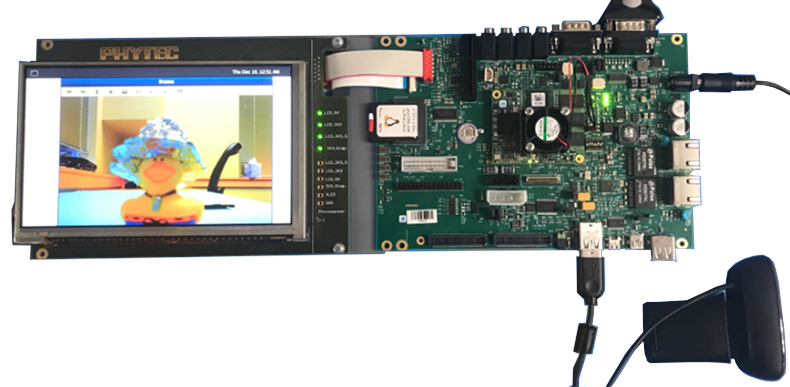
USB WebCam
The phyCORE-AM57x development kit supports many common USB WebCams via the Video4Linux2 driver which is included with the default kernel. This guide walks through the basic usage of the v4l2src utility in Linux to make changes to the Logitech C270 HD WebCam’s saturation setting and how to use OpenCV to stream video feed to the LCD-018 display.
Requirements
LCD-018-070-KAP
7” LVDS Capacitive Touch Display
WebCam
C270 HD WEBCAM <https://www.logitech.com/en-us/products/webcams/c270-hd-webcam.960-000694.html>
A Rubber Duck (Optional)
Connecting the Display
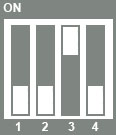
Verify that the DIP switches (S1) on the back of the LCD-018 are set to backlight to use the PWM setting.
Note
The backlight can be set to either: “always on”, “always off”, “PWM”, or “potentiometer”.
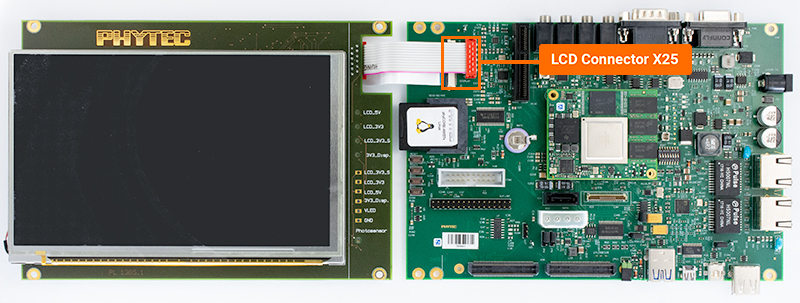
With the kit powered off and the power supply removed, connect the display to the connectors at X25.
Open the X25 connector by gently pulling the black tab toward the edge of the board.
Insert the ribbon cable into the connector, with the blue tape facing up.
Once the ribbon cable has been seated into the connector, pull the black tab back towards it’s closed position.
The red connector should be a standard push in connection.
Loading the Display
Power on the development kit and hit any key to stop in U-Boot.
Load the device tree overlay needed for operating the display then boot into Linux.
setenv overlays am57xx-phytec-pcm-948-lcd-018.dtbo
saveenv
boot
Note
For more information about overlays see chapter Configuring the Bootloader.
While the kit is booting, the PHYTEC logo with a loading bar should display on the screen. This should be followed by a “Multitouch” demo should appear.
Verifying Default Settings
Connect the WebCam to the USB3.0 port designated as X30. A kernel messages should appear. This message is indicating that the WebCam was detected.
Expected Outputroot@phycore-am57xx-1:~# [ 1403.872039] usb 3-1: USB disconnect, device number 2 [ 1409.682067] usb 1-1: new high-speed USB device number 2 using xhci-hcd [ 1410.084136] usb 1-1: New USB device found, idVendor=046d, idProduct=0825, bcdDevice= 0.12 [ 1410.092376] usb 1-1: New USB device strings: Mfr=0, Product=0, SerialNumber=2 [ 1410.099548] usb 1-1: SerialNumber: 2030A1E0 [ 1410.131103] uvcvideo: Found UVC 1.00 device <unnamed> (046d:0825) [ 1410.249450] input: UVC Camera (046d:0825) as /devices/platform/44000000.ocp/48800000.interconnect/48800000.interconnect:segment@0/48880000.target-module/48880000.omap_dwc3_1/48890000.usb/xhci-hcd.2.auto/usb1/1-1/1-1:1.0/input/input4 [ 1411.679321] usb 1-1: set resolution quirk: cval->res = 384
Verify that the WebCam appears as a new device.
Target (Linux)ls /dev/video*
Available settings can be seen using the command below.
Target (Linux)v4l2-ctl -d 1 --list-ctrls
Expected Outputroot@phycore-am57xx-1:~# v4l2-ctl -d 1 --list-ctrls [ 1558.744232] usb 1-1: reset high-speed USB device number 2 using xhci-hcd brightness 0x00980900 (int) : min=0 max=255 step=1 default=128 value=128 contrast 0x00980901 (int) : min=0 max=255 step=1 default=32 value=32 saturation 0x00980902 (int) : min=0 max=255 step=1 default=32 value=32 white_balance_temperature_auto 0x0098090c (bool) : default=1 value=1 gain 0x00980913 (int) : min=0 max=255 step=1 default=64 value=64 power_line_frequency 0x00980918 (menu) : min=0 max=2 default=2 value=2 white_balance_temperature 0x0098091a (int) : min=0 max=10000 step=10 default=4000 value=4000 flags=inactive sharpness 0x0098091b (int) : min=0 max=255 step=1 default=24 value=24 backlight_compensation 0x0098091c (int) : min=0 max=1 step=1 default=0 value=0 exposure_auto 0x009a0901 (menu) : min=0 max=3 default=3 value=3 exposure_absolute 0x009a0902 (int) : min=1 max=10000 step=1 default=166 value=166 flags=inactive exposure_auto_priority 0x009a0903 (bool) : default=0 value=1
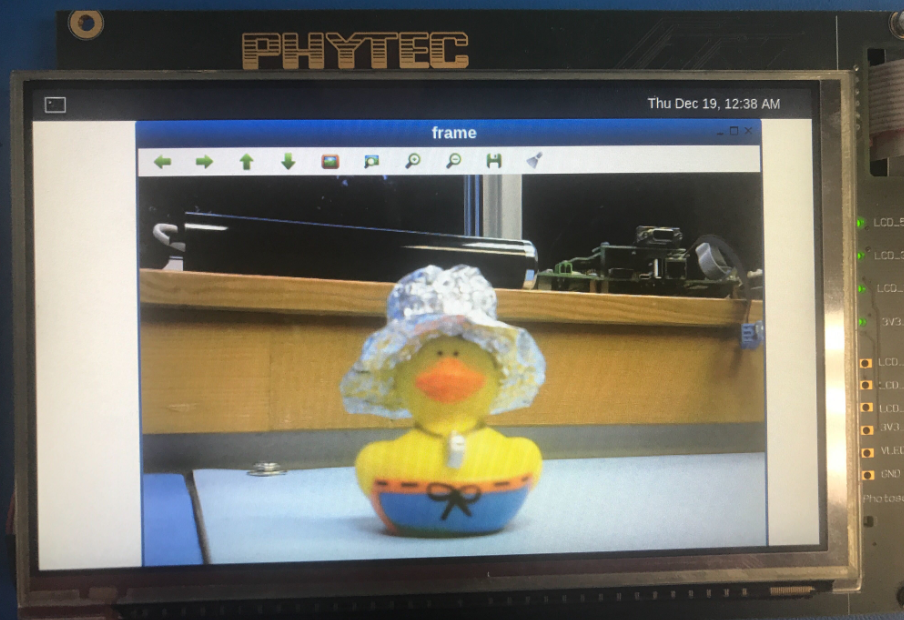
Video on Display
Enter this command to open a file named videoFeed.py using the Vi Text Editor:
Target (Linux)gst-launch-1.0 -v v4l2src device=/dev/video1 ! videoconvert ! autovideosink
Enter Ctrl + C to stop feed.
Getting Fancy!
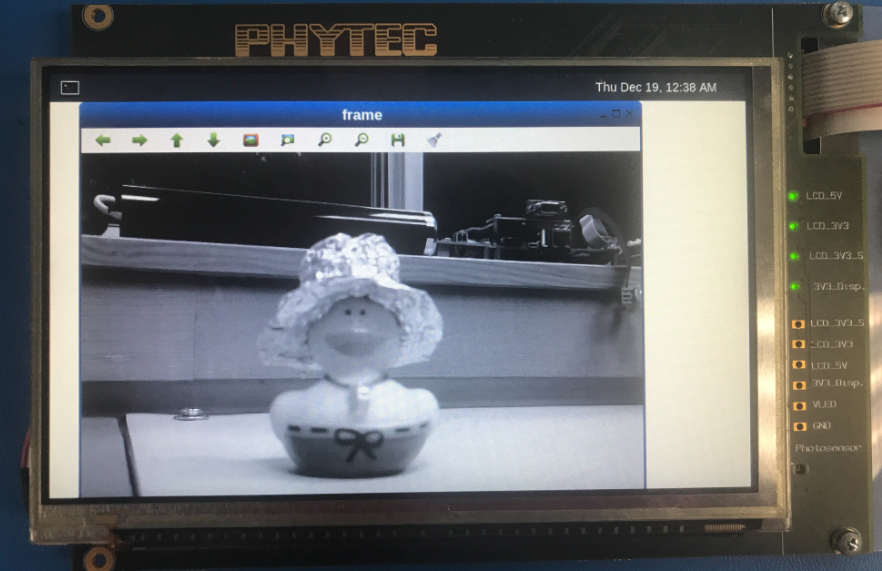
Now that we have an idea of what the default settings look like, lets drop the saturation to zero before checking the video feed again:
Target (Linux)v4l2-ctl -d 1 --set-ctrl=saturation=0 gst-launch-1.0 -v v4l2src device=/dev/video1 ! videoconvert ! autovideosink
Try modifying the other settings in a similar way until you have your camera configured the way you like!