Display
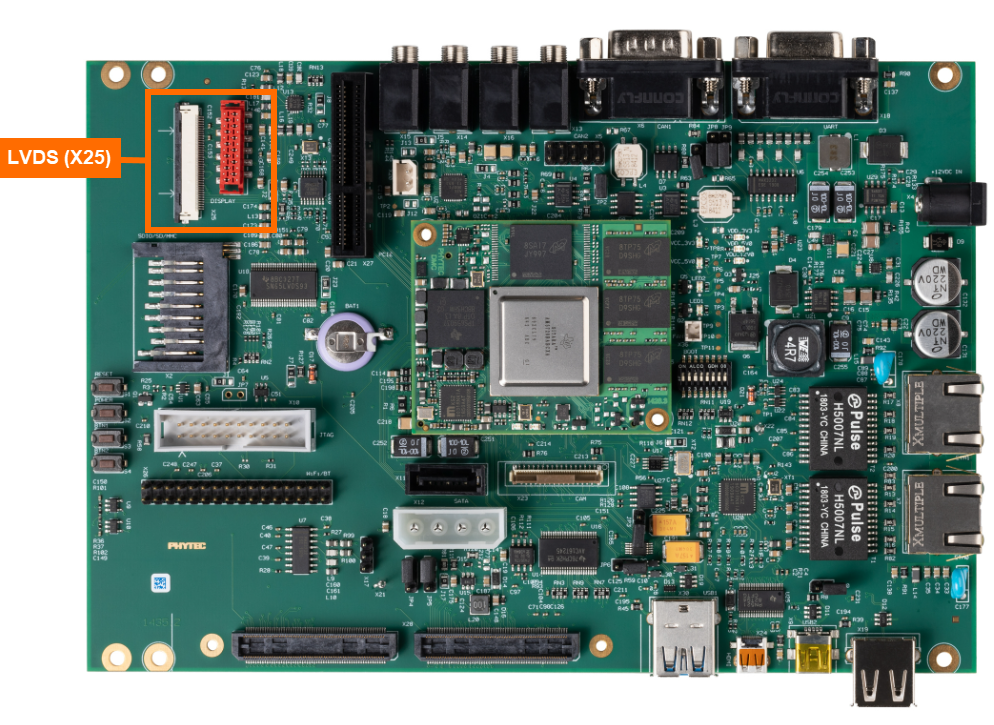
The phyCORE-AM57x supports an LVDS LCD at X25, which is comprised of an LVDS signal connector and a power connector. These connectors provide connection to support various PHYTEC LCDs, such as LCD-018. This guide will show the basic usage of an LVDS display with the phyCORE-AM57x development kit. For more information on the on the display interfaces, see section 26 in the Hardware Manual.
Requirements
LCD-018-070-KAP
7” LVDS Capacitive Touch Display
LCD-017-070W
7” Display with Resistive Touch
Note
Be sure that you are not using a headless BSP image as this does not support the display interface. See BSP-Yocto-AM57x-PD23.1.1 for more information.
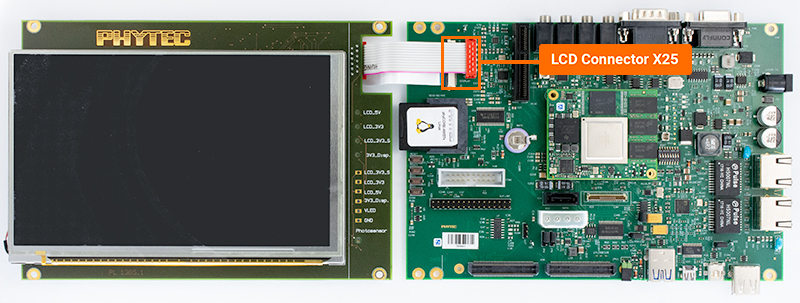
Connecting the Display
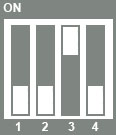
Verify that the DIP switches (S1) on the back of the LCD-018 are set to backlight to use the PWM setting.
Note
The backlight can be set to either: “always on”, “always off”, “PWM”, or “potentiometer”. (there is a point on the display with reference designator R30). In order to control the backlight via the phyCORE-AM57x as described in this guide, the boot switch needs to be set to PWM. (1,2,4 OFF; 3 ON).
With the kit powered off and the power supply removed, connect the display to the connectors at X25.
Open the X25 connector by gently pulling the black tab toward the edge of the board.
Insert the ribbon cable into the connector, with the blue tape facing up.
Once the ribbon cable has been seated into the connector, pull the black tab back towards it’s closed position.
The red connector should be a standard push in connection.
Loading the Display
Power on the development kit and hit any key to stop in U-Boot.
Load the device tree overlay needed for operating the display then boot into Linux.
setenv overlays am57xx-phytec-pcm-948-lcd-018.dtbo
saveenv
boot
Note
For more information about overlays see chapter Configuring the Bootloader.
While the kit is booting, the PHYTEC logo with a loading bar should display on the screen. This should be followed by a “Multitouch” demo should appear.
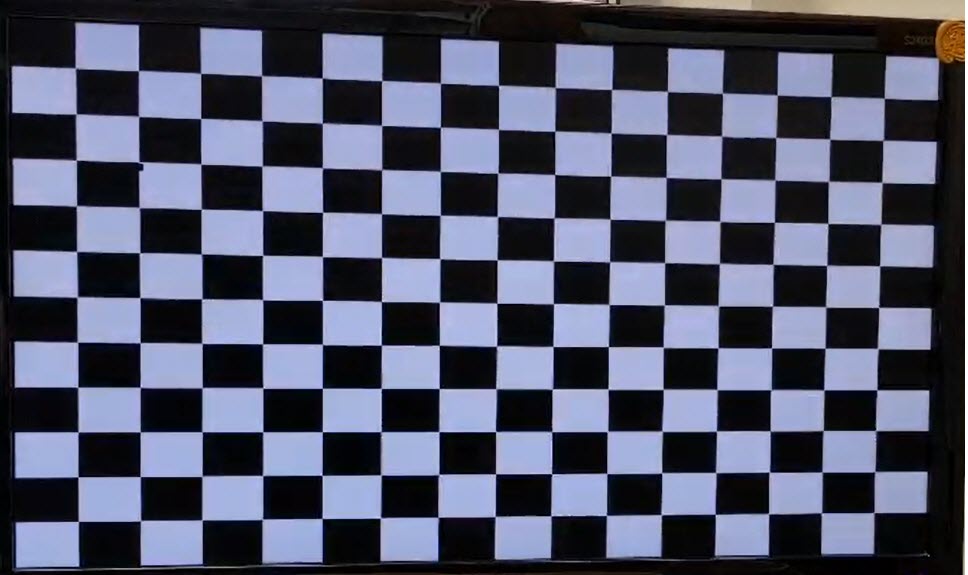
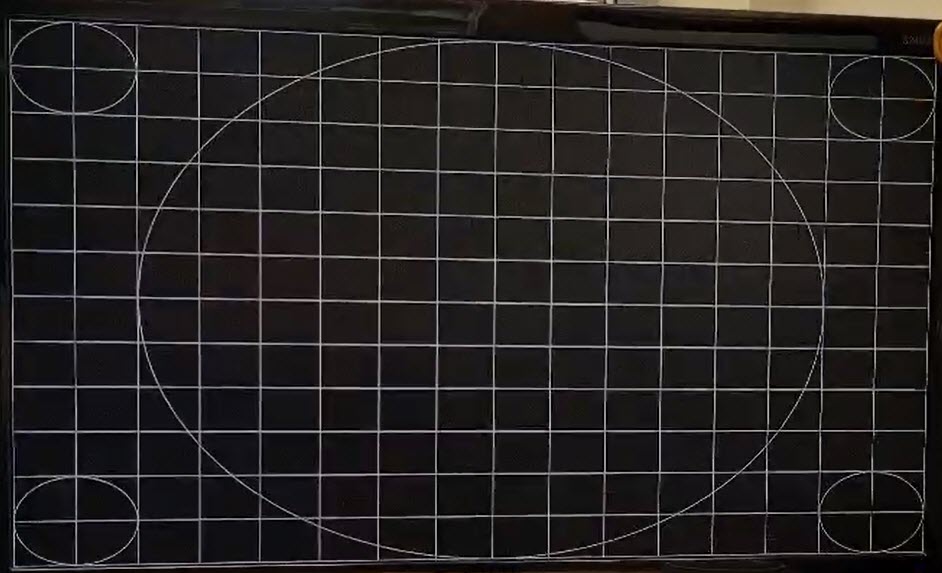
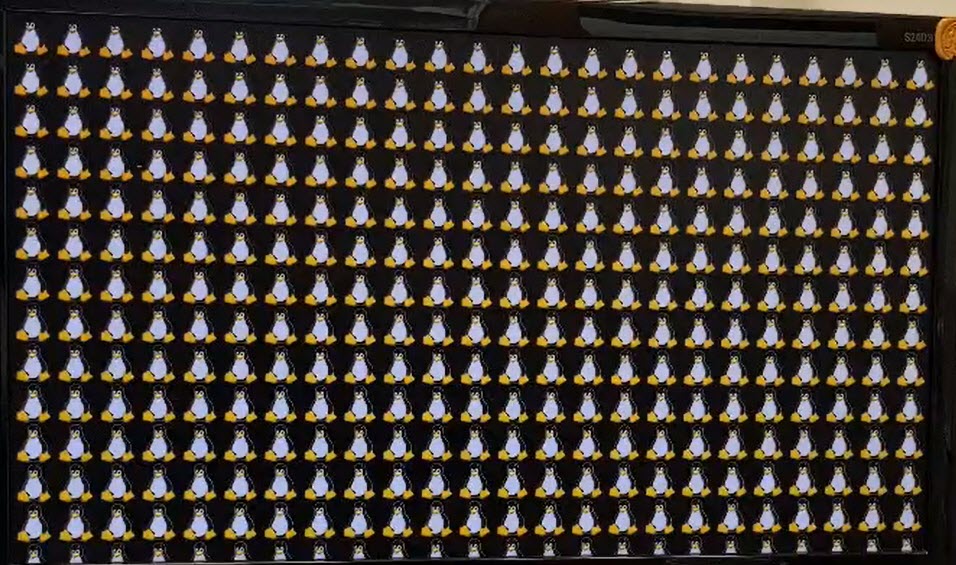
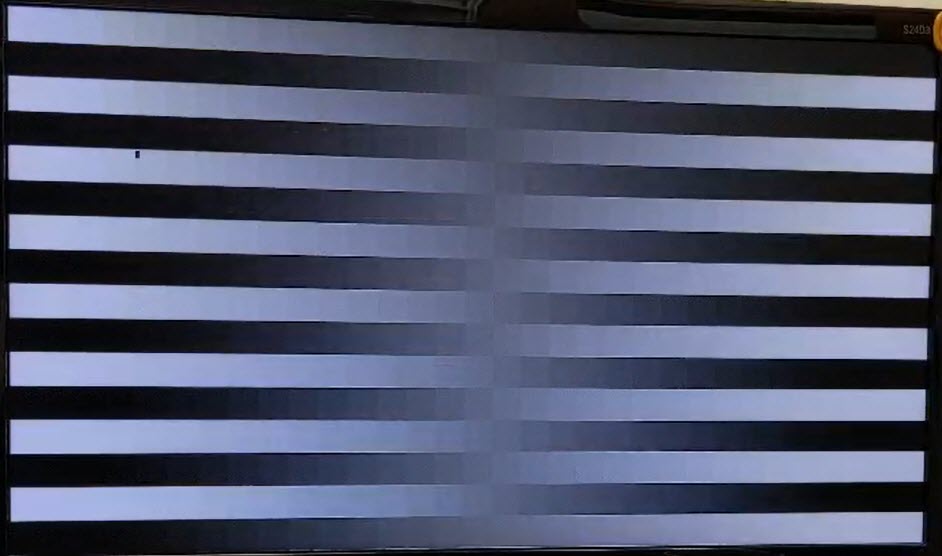
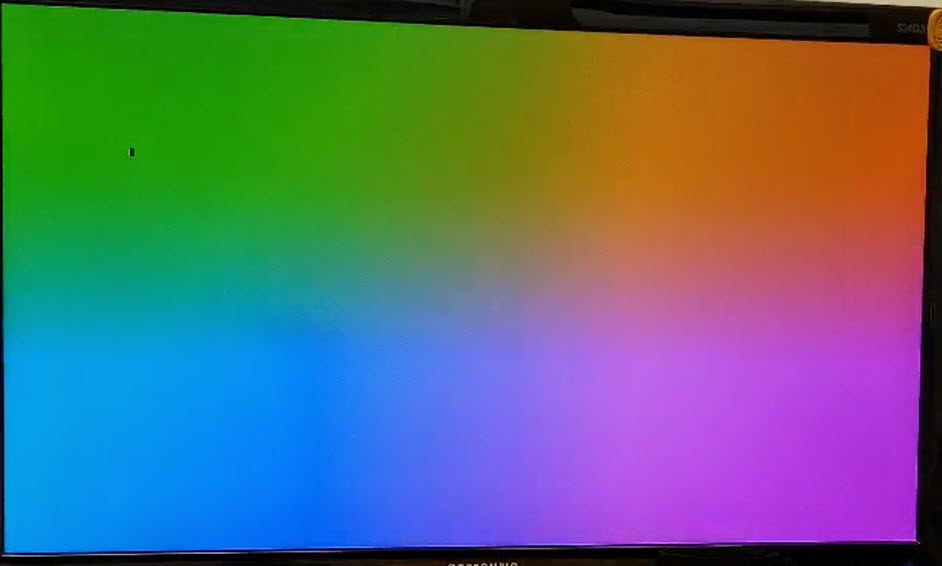
Framebuffer Test
Stop the qtdemo and weston demos.
systemctl stop phytec-qtdemo
systemctl stop weston.socket
Run the following command to test colors and patterens.
fbtest
root@phycore-am57xx-1:~# fbtest
Using drawops cfb32 (32 bpp packed pixels)
Available visuals:
 Monochrome
 Grayscale 256
 Truecolor 8:8:8:0
Using visops truecolor
Running all tests
test001: PASSED
test002: PASSED
test004: PASSED
test006: PASSED
test008: PASSED
test009: PASSED
Power on the board and boot into Linux.
An application called the Matrix-GUI will appear on the display.
Controlling the Backlight
The backlight brightness of the display is controlled by a PWM and can be configured via Linux in the sysfs.
To read the current backlight brightness:
Target (Linux)cat /sys/devices/platform/backlight/backlight/backlight/brightness
Set “brightness” to values 0-7, with 7 being the brightest. For example:
Target (Linux)echo 7 > /sys/devices/platform/backlight/backlight/backlight/brightness
Set bl_power to turn backlight off/on. Valid values are 1 for off and 0 for on:
Target (Linux)echo 1 > /sys/devices/platform/backlight/backlight/backlight/bl_power echo 0 > /sys/devices/platform/backlight/backlight/backlight/bl_power
Note
Not seeing the display brightness change? Check the above Note!