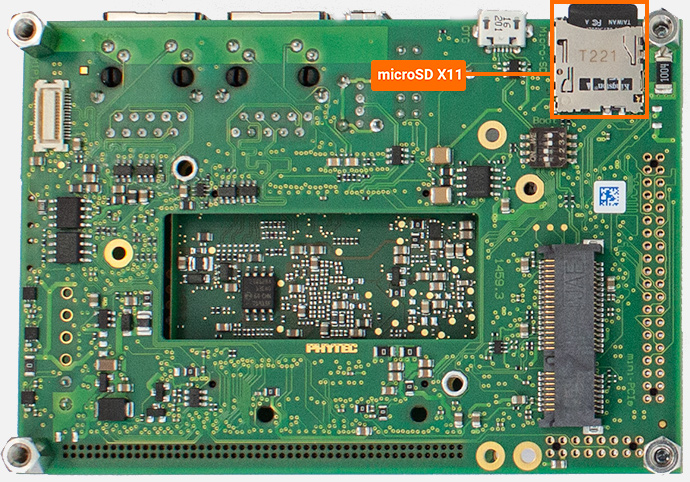
SD Card
The SD card interface can be used as a boot device or plug-and-play external media. This guide will walk through reading and writing to the phyCORE-i.MX7 development kit’s mirco-SD card. For information on how to boot the development kit from SD card see the guide SD Card.

Note
In order to make the microSD connector available, you will have to first boot into Linux from eMMC. See the Flashing and Booting eMMC guide for more information.
Write to the SD Card
You can use basic Linux commands to create and write files to the SD card. Below is an example:
echo "Hello World" > ~/test.txt
cp ~/test.txt /run/media/mmcblk0p1
Read from the SD Card
To read what was just written to the SD card in the previous example, use the following command:
cp /run/media/mmcblk0p1/test.txt ~/read.txt
To check that the file read (read.txt) is the same that was written (test.txt) you can use md5sum to compare and verify the data transfer was successful:
md5sum ~/test.txt && md5sum ~/read.txt
The above command will generate a long and seemingly random string of characters for both files. This long string is called a “hash” and it uniquely identifies the files. If the hash for both files match then you can be confident that both files (down to each bit) are identical.
Unmount the SD Card
Before unplugging the device from the development kit, make sure to unmount it. You can do this by running the following command:
umount /run/media/mmcblk0p*