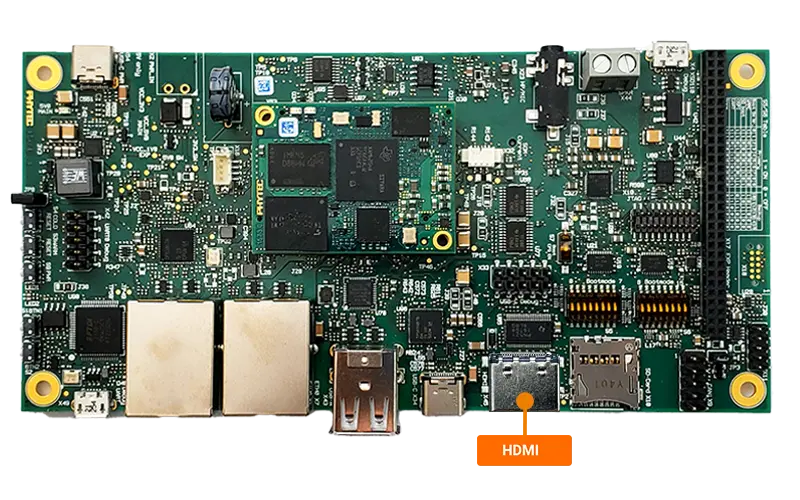
HDMI Interface
The phyCORE-AM62x features a 24-bit RGB parallel video output (VOUT) that supports both Parallel MIPI DPI 2.0 (Digital Pixel Interface) and BT.656/BT.1120 interfaces. This guide will help you verify and test the HDMI connection between your phyBOARD-Lyra AM62x and an HDMI-capable monitor. For detailed technical information about the HDMI interface, please refer to the “Display and Camera Interfaces” chapter in the Hardware Manual.
Required Hardware
Standard HDMI cable
HDMI-compatible monitor or display
Micro USB power cable (5V) for the monitor
Note
Make sure you are using a standard (non-headless) BSP image, as headless images may have a limited HDMI output. While HDMI is enabled by default in the device tree, other display interfaces can be activated using device tree overlays. (BSP Images: BSP-Yocto-Ampliphy-AM62x-PD25.1.1)
Connecting the HDMI Display
First, safely shut down the development kit:
sh-phyboard-lyra-am62xx-3:~# poweroff
After the system has powered down, disconnect the power supply.
Connect your HDMI cable between the development kit’s HDMI connector and your HDMI monitor.
Power on the development kit. During the boot sequence, you should see:
The PHYTEC logo with a progress bar
Note
If you have enabled the OLDI display overlay, the HDMI output will stop at the PHYTEC loading screen. This occurs because the Qt demo application defaults to using the OLDI display as the primary output device.
To interact with the Qt demo on your monitor, simply connect a USB keyboard or mouse through a USB hub to the development kit.
Default Test Image
Stop the qtdemo and weston demos.
sh-phyboard-lyra-am62xx-3:~# systemctl stop qtphy
sh-phyboard-lyra-am62xx-3:~# systemctl stop weston.socket
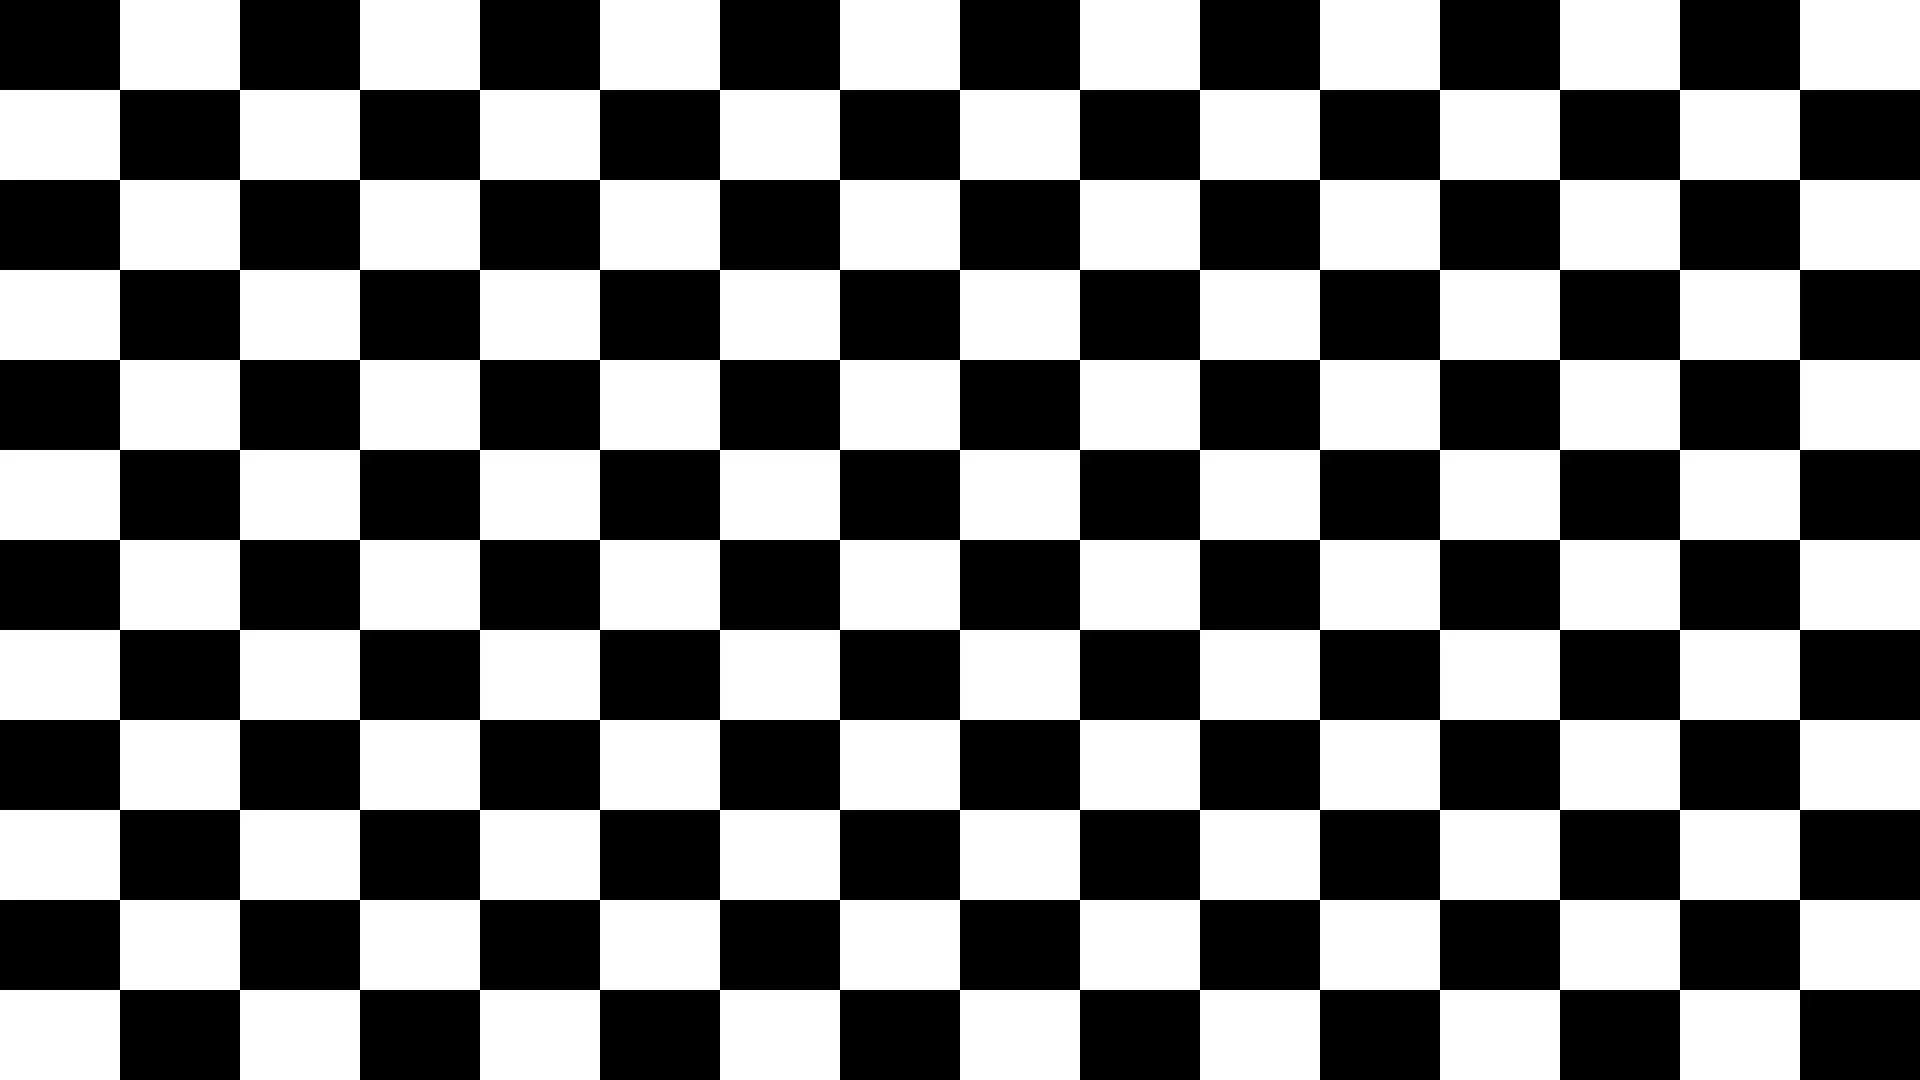
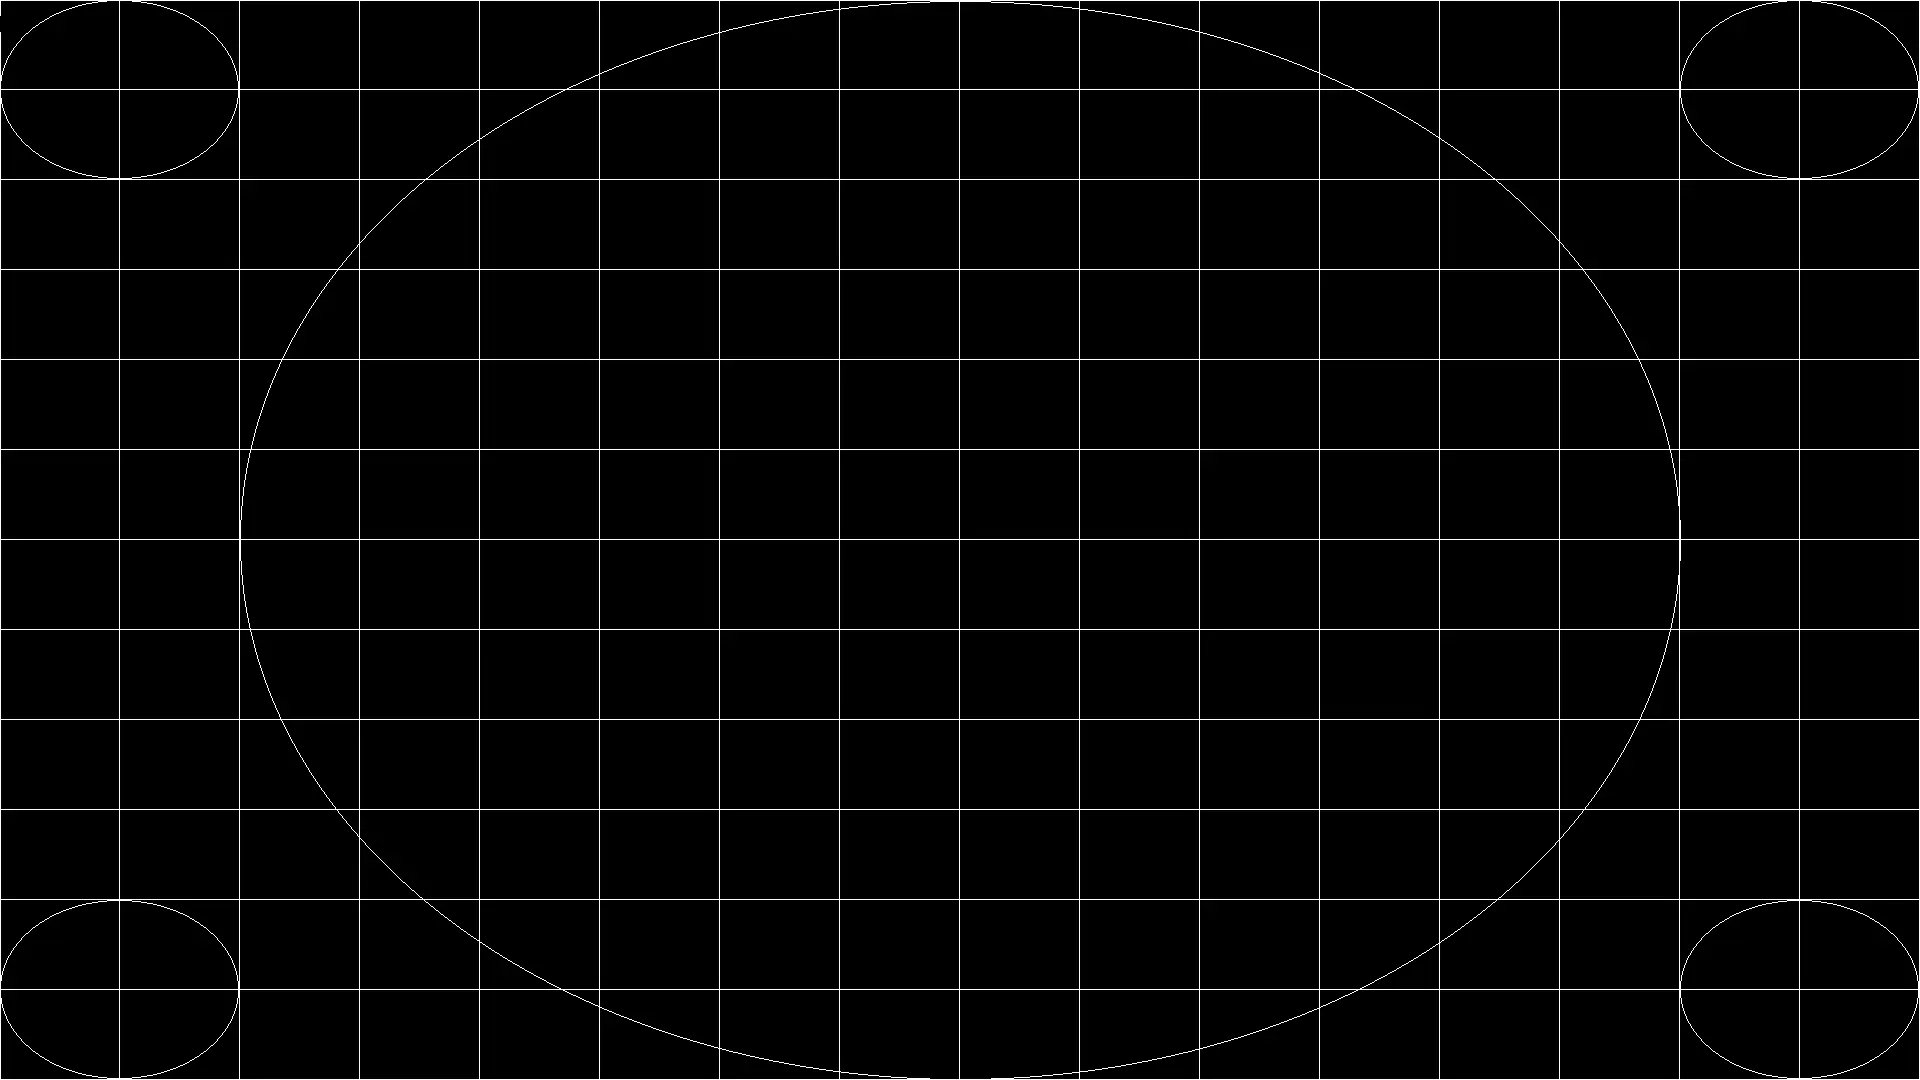
Run the following command to run the HDMI test.
sh-phyboard-lyra-am62xx-3:~# fbtest
Using drawops cfb32 (32 bpp packed pixels)
Available visuals:
  Monochrome
  Grayscale 256
  Truecolor 8:8:8:0
Using visops truecolor
Running all tests
test001: PASSED
test002: PASSED
test004: PASSED
test006: PASSED
test008: PASSED
test009: PASSED
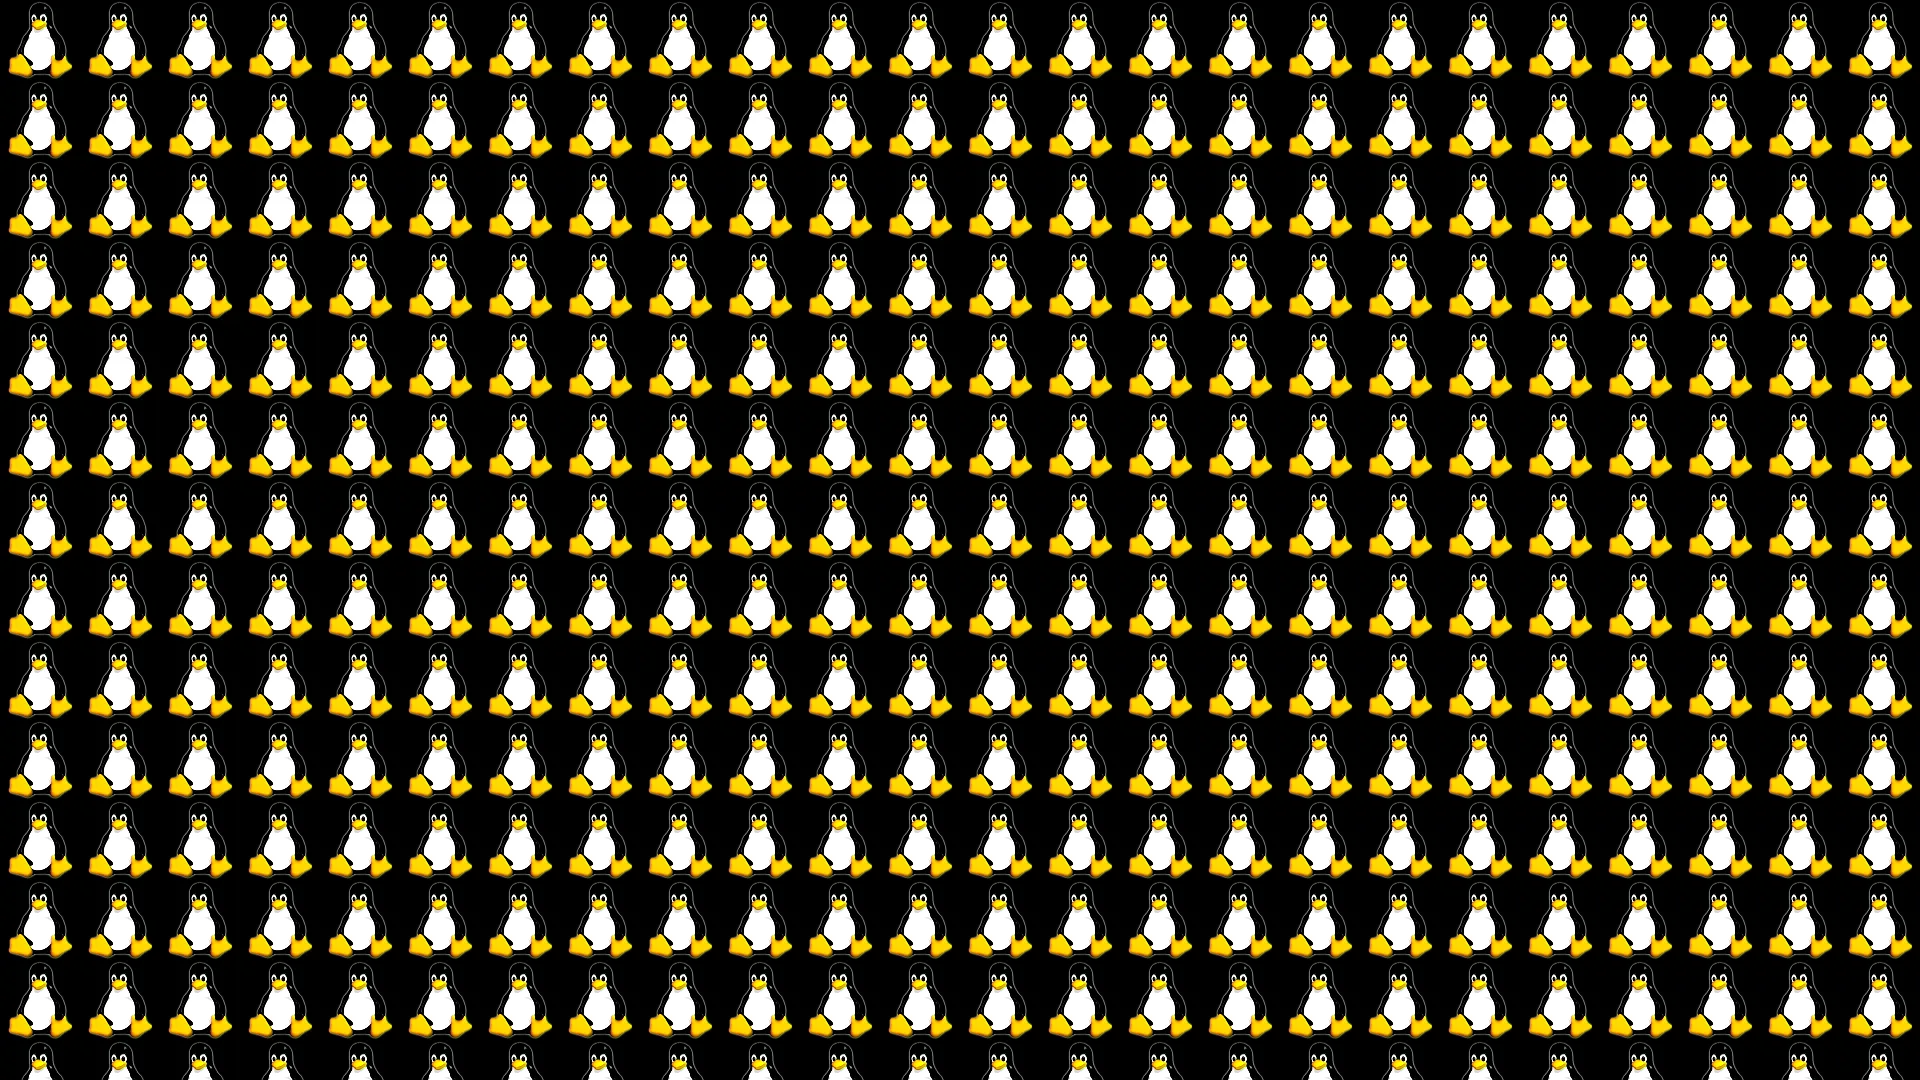


Displaying Images
With an HDMI display connected (either monitor or 7” screen) power on the kit.
Stop the qtdemo and weston demos.
sh-phyboard-lyra-am62xx-3:~# systemctl stop qtphy
sh-phyboard-lyra-am62xx-3:~# systemctl stop weston.socket
Display the image via HDMI screen.
sh-phyboard-lyra-am62xx-3:~# gst-launch-1.0 -v filesrc location=/usr/share/qtphy/images/phytec_logo_medium.png ! pngdec ! imagefreeze ! kmssink driver-name="tidss"
Setting pipeline to PAUSED ...
Pipeline is PREROLLING ...
/GstPipeline:pipeline0/GstKMSSink:kmssink0: display-width = 1920
/GstPipeline:pipeline0/GstKMSSink:kmssink0: display-height = 1080
/GstPipeline:pipeline0/GstPngDec:pngdec0.GstPad:src: caps = video/x-raw, format=(string)RGBA, width=(int)800, height=(1
/GstPipeline:pipeline0/GstImageFreeze:imagefreeze0.GstPad:sink: caps = video/x-raw, format=(string)RGBA, width=(int)801
/GstPipeline:pipeline0/GstImageFreeze:imagefreeze0.GstPad:src: caps = video/x-raw, format=(string)RGBA, width=(int)800B
/GstPipeline:pipeline0/GstKMSSink:kmssink0.GstPad:sink: caps = video/x-raw, format=(string)RGBA, width=(int)800, heighB
Pipeline is PREROLLED ...
Setting pipeline to PLAYING ...
Redistribute latency...
New clock: GstSystemClock
Remove the cursor blink with:
sh-phyboard-lyra-am62xx-3:~# echo 0 > /sys/class/graphics/fbcon/cursor_blink
Run Default Video
Stop the qtdemo and weston demos.
sh-phyboard-lyra-am62xx-3:~# systemctl stop qtphy
sh-phyboard-lyra-am62xx-3:~# systemctl stop weston.socket
Run the default video on the phytec-qtdemo. A goat video should appear on screen.
sh-phyboard-lyra-am62xx-3:~# gst-launch-1.0 -v filesrc location=/usr/share/qtphy/videos/caminandes_3_llamigos_720p_vp9.webm ! decodebin ! videoconvert ! kmssink driver-name="tidss"