HDMI
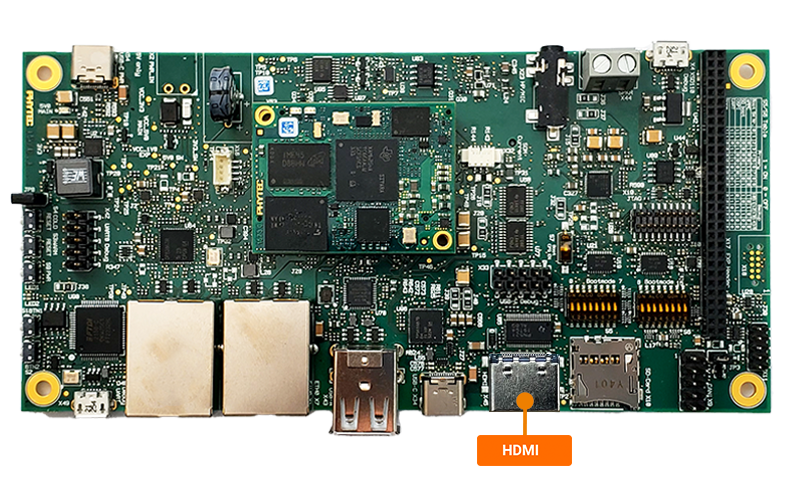
The phyCORE-AM62x supports one 24-bit RGB parallel video output (VOUT) that can be used with Parallel MIPI DPI 2.0 (Digital Pixel Interface) or BT.656/BT.1120 interface. This guide demonstrates how to verify the HDMI connection between the phyCORE-AM62x development kit and a monitor with an HDMI port. For more information on HDMI, please see section 8 in the Hardware Manual.
Requirements
HDMI cable
Monitor with an HDMI Port
Requires a micro USB 5V power cable and HDMI cable
Note
Be sure that you are not using a headless BSP image as this does not support the HDMI interface.
Setup the HDMI Display
Power off and remove the power supply from the development kit.
poweroff
Connect the HDMI display to X45 and to the HDMI monitor.
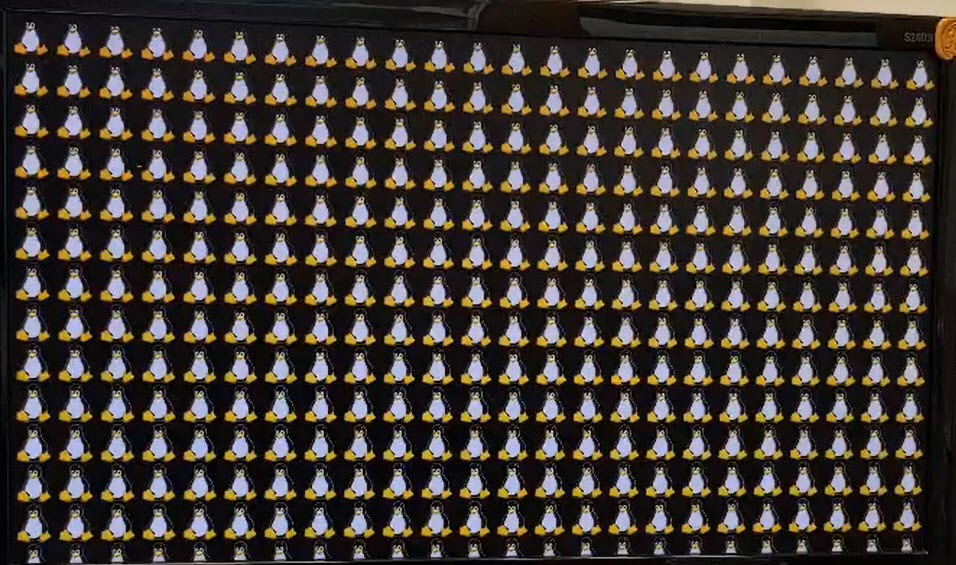
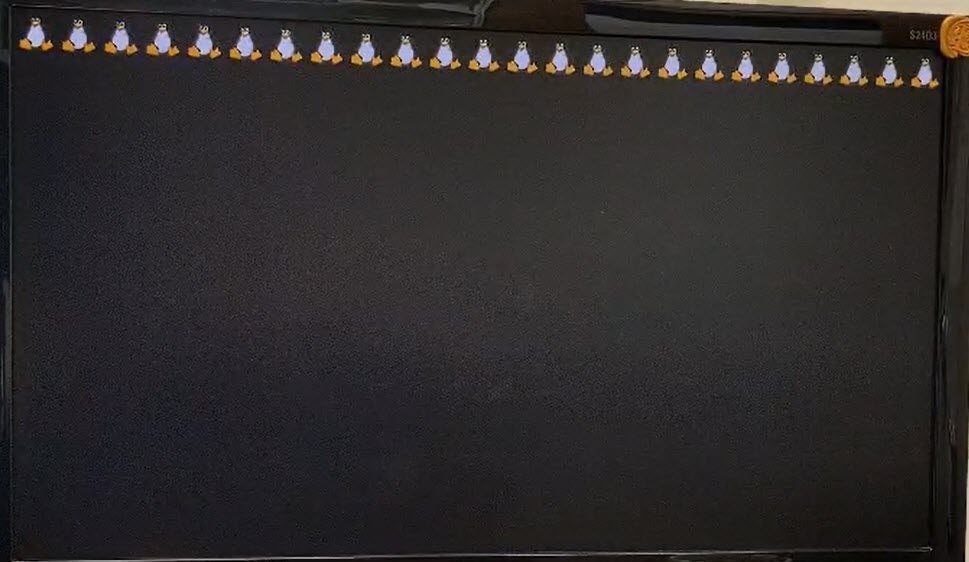
Power on the development kit. As the board is booting, 4x Tux the penguins should appear, followed by a PHYTEC logo with a loading bar and finally a “Multitouch” qtdemo should show on the screen.
Note
If the OLDI display overlay is enabled on the development kit, the HDMI screen will only load up to the PHYTEC loading bar screen. This issue arises because the qtdemo defaults to the OLDI display as the main device.
The qtdemo can be interated with on a montior by plugging a keyboard or mouse usb hub into the development kit.
Default Test Image
Stop the qtdemo and weston demos.
systemctl stop phytec-qtdemo
systemctl stop weston.socket
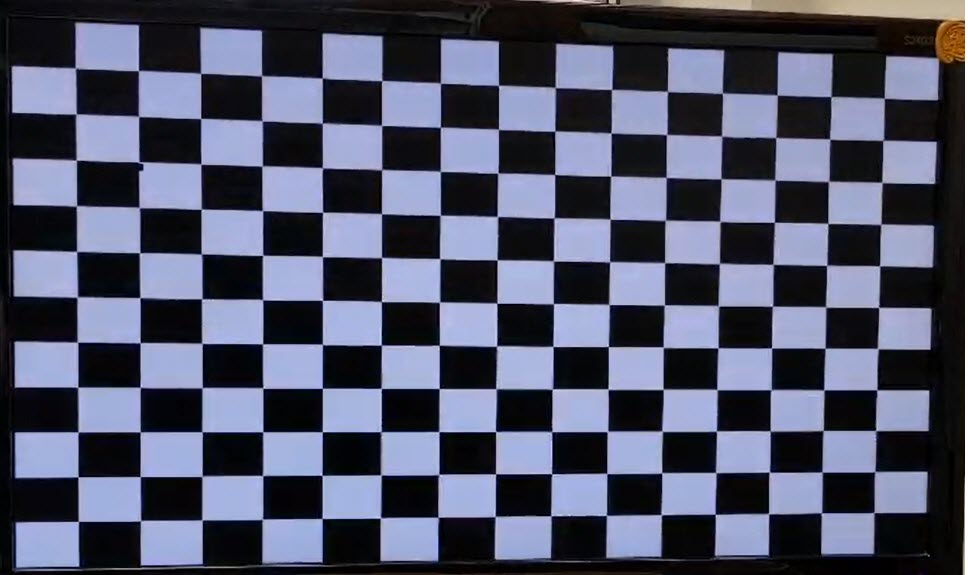
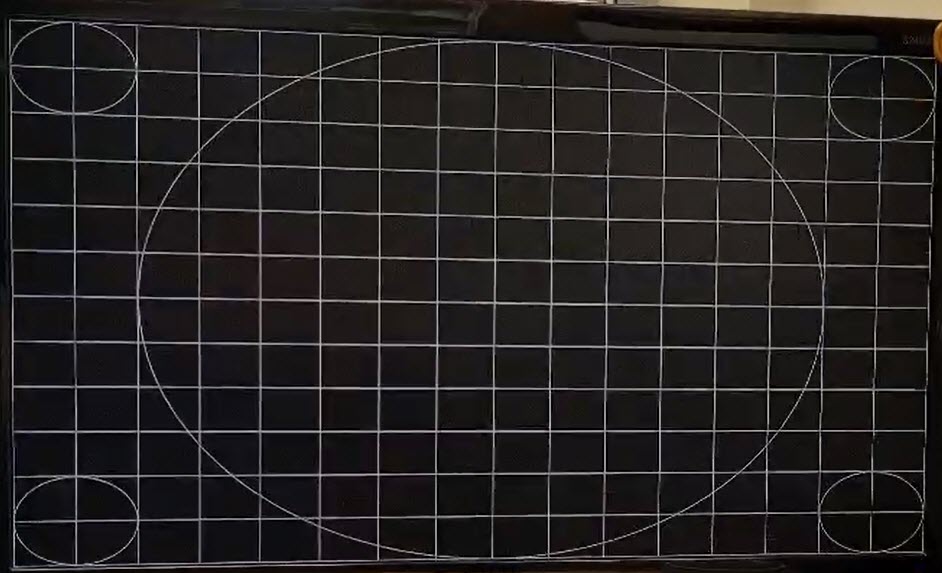
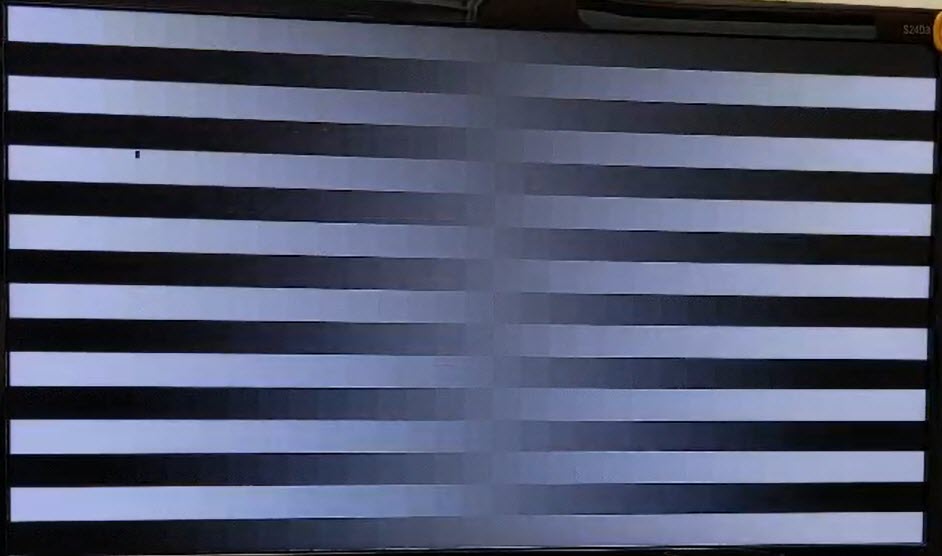
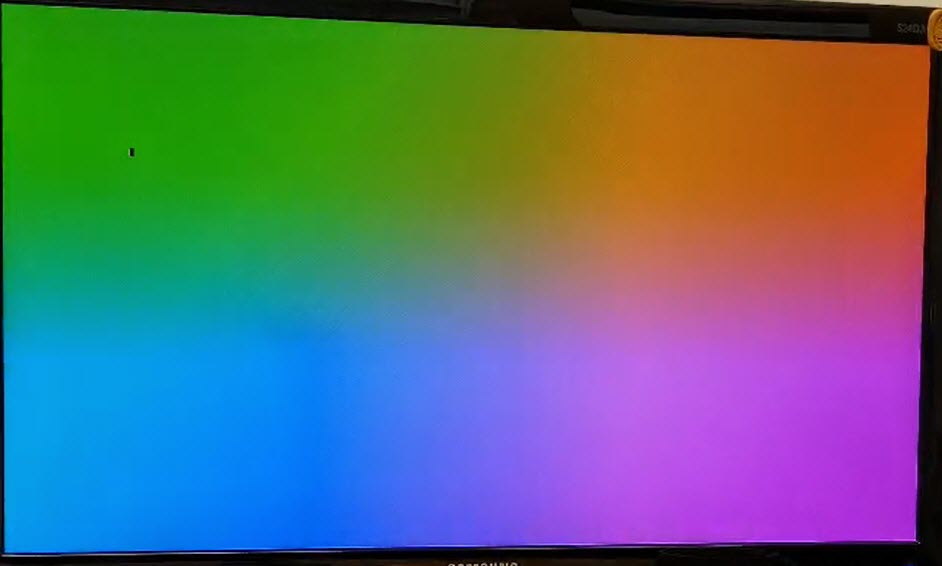
Run the following command to run the HDMI test.
fbtest
root@phyboard-lyra-am62xx-3:~# fbtest
Using drawops cfb32 (32 bpp packed pixels)
Available visuals:
  Monochrome
  Grayscale 256
  Truecolor 8:8:8:0
Using visops truecolor
Running all tests
test001: PASSED
test002: PASSED
test004: PASSED
test006: PASSED
test008: PASSED
test009: PASSED
Displaying Custom Image
With an HDMI display connected (either monitor or 7” screen) power on the kit.
Stop the qtdemo and weston demos.
Target (Linux)systemctl stop phytec-qtdemo systemctl stop weston.socket
Copy over or utilize the Camera interface to obtain an image. This guide will be using the “scp” command to copy a png image from the Host machine to the kit. For more detailed information on copying media over to the kit see the guide Copying Files to the Device
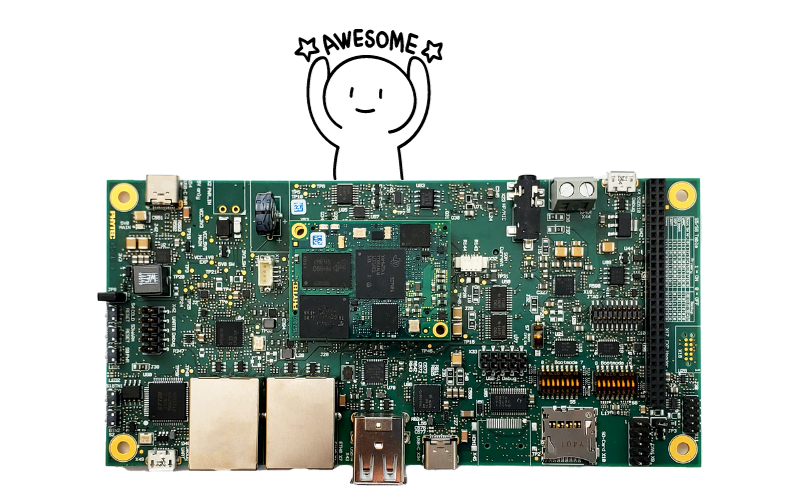
Download the image, “awesome.png”.
Connect the development kit to your local network using either ethernet port.
Confirm the development kit’s ethernet IP address (DHCP). For more information on how to change the from a static IP address to a DHCP address, see the Ethernet interface guide.
Target (Linux)ip addr
Transfer the image via Windows Command Prompt or Linux terminal.
Host (Ubuntu or Windows)scp ./Downloads/awesome.png root@<devkit_ip_address>:
Use the “ls” command to verify that the image copied over to the kit.
Target (Linux)ls
Display the image via HDMI screen.
Target (Linux)gst-launch-1.0 -v filesrc location=./awesome.png ! pngdec ! imagefreeze ! kmssink driver-name="tidss"
Target (Linux)root@phyboard-lyra-am62xx-3:~# gst-launch-1.0 -v filesrc location=./awesome.png ! pngdec ! imagefreeze ! kmssink driver-name="tidss" Setting pipeline to PAUSED ... [ 708.149794] omap_i2c 20010000.i2c: controller timed out [ 709.205610] omap_i2c 20010000.i2c: controller timed out [ 710.261618] omap_i2c 20010000.i2c: controller timed out [ 711.349593] omap_i2c 20010000.i2c: controller timed out [ 712.405574] omap_i2c 20010000.i2c: controller timed out [ 713.461556] omap_i2c 20010000.i2c: controller timed out [ 714.517566] omap_i2c 20010000.i2c: controller timed out [ 715.573563] omap_i2c 20010000.i2c: controller timed out [ 716.629632] omap_i2c 20010000.i2c: controller timed out Pipeline is PREROLLING ... /GstPipeline:pipeline0/GstKMSSink:kmssink0: display-width = 800 /GstPipeline:pipeline0/GstKMSSink:kmssink0: display-height = 480 /GstPipeline:pipeline0/GstPngDec:pngdec0.GstPad:src: caps = video/x-raw, format=(string)RGBA, width=(int)800, height=(int)500, interlace-mode=(string)progressive, multiview-mode=(string)mono, multiview-flags=(GstVideoMultiviewFlagsSet)0:ffffffff:/right-view-first/left-flipped/left-flopped/right-flipped/right-flopped/half-aspect/mixed-mono, pixel-aspect-ratio=(fraction)1/1, colorimetry=(string)sRGB, framerate=(fraction)0/1 /GstPipeline:pipeline0/GstImageFreeze:imagefreeze0.GstPad:sink: caps = video/x-raw, format=(string)RGBA, width=(int)800, height=(int)500, interlace-mode=(string)progressive, multiview-mode=(string)mono, multiview-flags=(GstVideoMultiviewFlagsSet)0:ffffffff:/right-view-first/left-flipped/left-flopped/right-flipped/right-flopped/half-aspect/mixed-mono, pixel-aspect-ratio=(fraction)1/1, colorimetry=(string)sRGB, framerate=(fraction)0/1 /GstPipeline:pipeline0/GstImageFreeze:imagefreeze0.GstPad:src: caps = video/x-raw, format=(string)RGBA, width=(int)800, height=(int)500, framerate=(fraction)25/1, interlace-mode=(string)progressive, multiview-mode=(string)mono, multiview-flags=(GstVideoMultiviewFlagsSet)0:ffffffff:/right-view-first/left-flipped/left-flopped/right-flipped/right-flopped/half-aspect/mixed-mono, pixel-aspect-ratio=(fraction)1/1, colorimetry=(string)sRGB /GstPipeline:pipeline0/GstKMSSink:kmssink0.GstPad:sink: caps = video/x-raw, format=(string)RGBA, width=(int)800, height=(int)500, framerate=(fraction)25/1, interlace-mode=(string)progressive, multiview-mode=(string)mono, multiview-flags=(GstVideoMultiviewFlagsSet)0:ffffffff:/right-view-first/left-flipped/left-flopped/right-flipped/right-flopped/half-aspect/mixed-mono, pixel-aspect-ratio=(fraction)1/1, colorimetry=(string)sRGB Pipeline is PREROLLED ... Setting pipeline to PLAYING ... Redistribute latency... New clock: GstSystemClock
Run Default Video
Run the default video on the qt5demo. A goat video should appear on screen.
Target (Linux)gst-launch-1.0 -v filesrc location=/usr/share/phytec-qtdemo/videos/caminandes.webm ! decodebin ! videoconvert ! kmssink driver-name="tidss"