Install the PHYTEC SDK on Window Host
This guide will walk you through the process of setting up the NXP MCUxpresso IDE and acquiring the phyCORE-RT1170 SDK from GitHub. Upon completing this guide, you will have a fully configured development environment.
MCUXpresso IDE
Download MCUXpresso IDE from NXP
Note
Phytec mcux-sdk is based on SDK2.13.0. It requires IDE V11.7.x or later (At the time the latest version is 11.7.1)
Install West
The whole mcux-sdk delivery is composed of separate project deliveries. It is referenced to the approach of managing different repositories in Zephyr, more details can be found on Github. Users have to install west tool which helps do multi-repository management according to west.yml in the SDK.
West is written in Python 3 and distributed through PyPI. Verify that Python 3 is installed.
Host (Windows)python --version
Expected OutputC:\Users\user>python --version Python 3.11.3
Update pip on Host Machine.
Host (Windows)python.exe -m pip install --upgrade pip
After that, add west command into environment variable path.
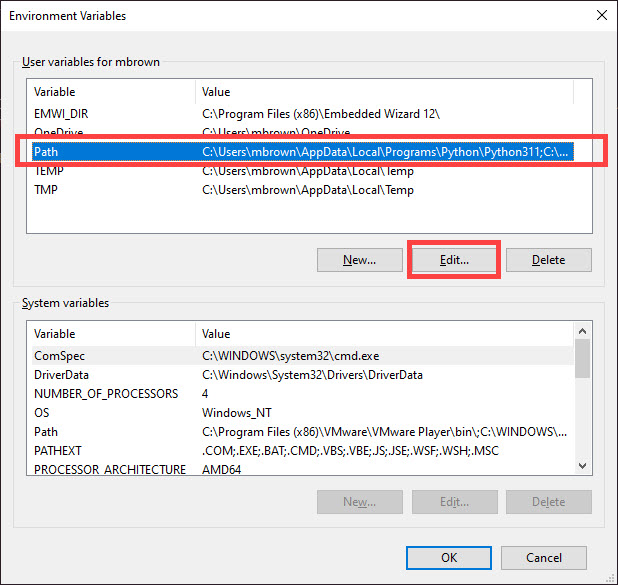
Open “Environment Variables” on your Host machine.
Select the “Path” variable and then click “Edit”.
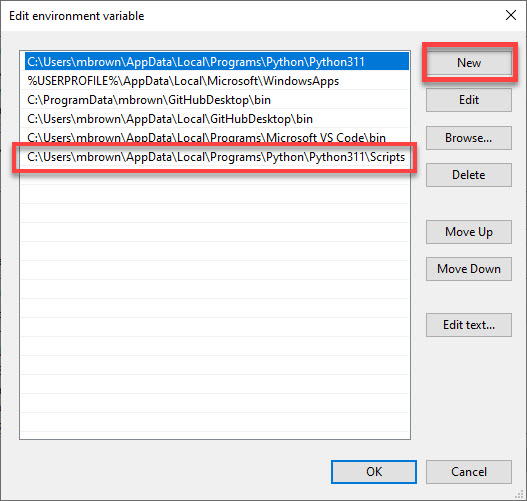
Click “New” and then enter the path that points to the Python3.11 scripts folder. In this example, the pathway looks like this: C:\Users\<user>\AppData\Local\Programs\Python\Python311\Scripts or this C:\Users\<user>\AppData\Local\Packages\PythonSoftwareFoundation.Python.3.11_qbz5n2kfra8p0\LocalCache\local-packages\Python311\Scripts
MCUX-SDK
Dedicate a directory on your Host Machine for housing the SDK and navigate there.
Host (Windows)cd c:\ mkdir nxp cd nxp
Note
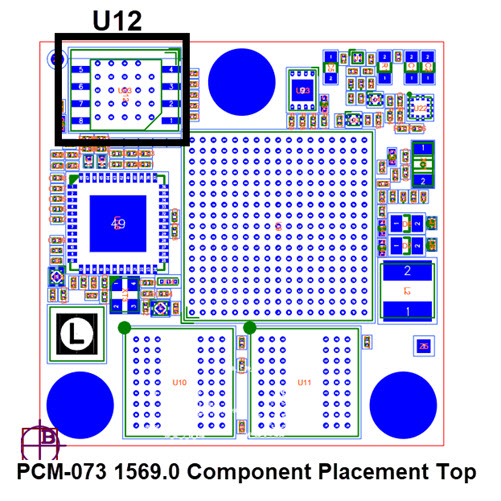
The SPI NOR Flash component (U12) on the SOM has recently been updated from IS25WP064A-JBLE to MX25U12832FM2I02. If your unit has the older SPI NOR, please contact PHYTEC Support to receive new hardware.
The SPI NOR Flash (U12) is located in the top left corner of the SOM. Please refer to the component placement diagram below to identify which SPI NOR is populated on your unit.
Install the PHYTEC MCUX-SDK on Windows. Below is the example of downloading it (Tag:v2.15.0-phy1) into c:\nxp\mcux-sdk
Host (Windows)west init -m https://github.com/phytec/mcux-sdk.git --mr v2.15.0-phy1 mcux-sdk cd c:\nxp\mcux-sdk west update
Please check if there is any error. If any project repositories become not accessible, it will cause error. In this case, please refer to latest NXP MCUX-SDK or contact PHYTEC Support
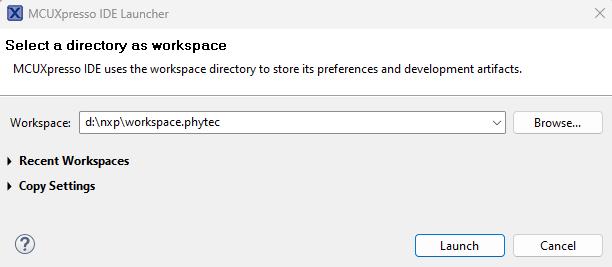
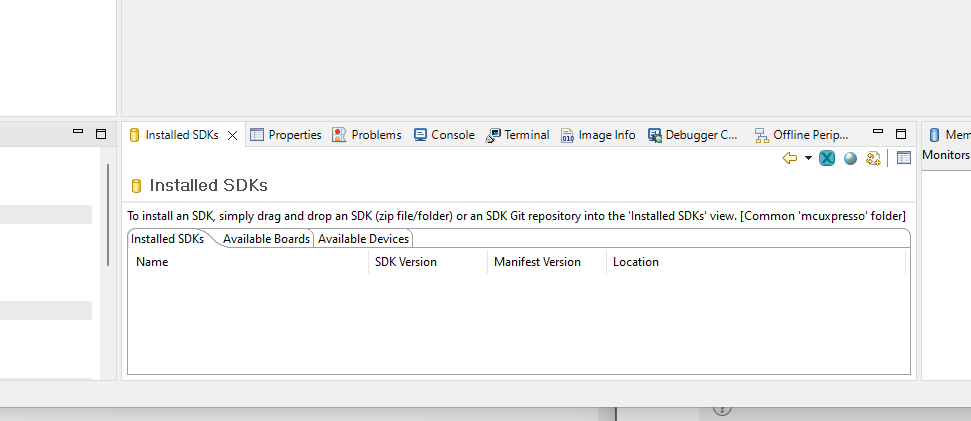
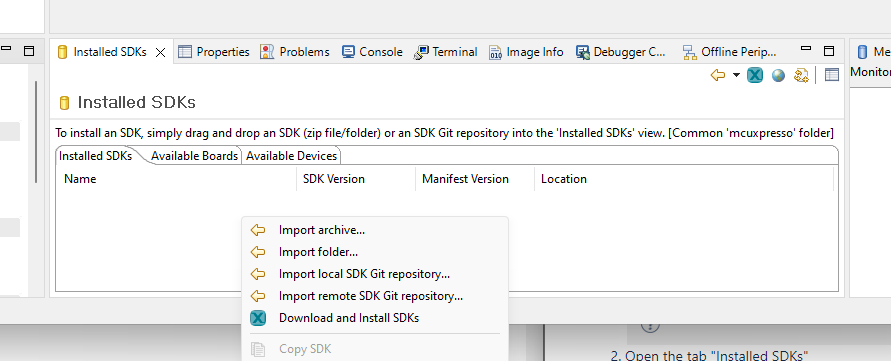
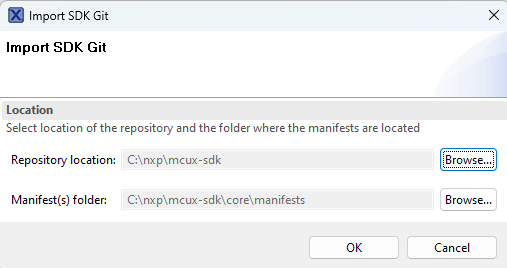
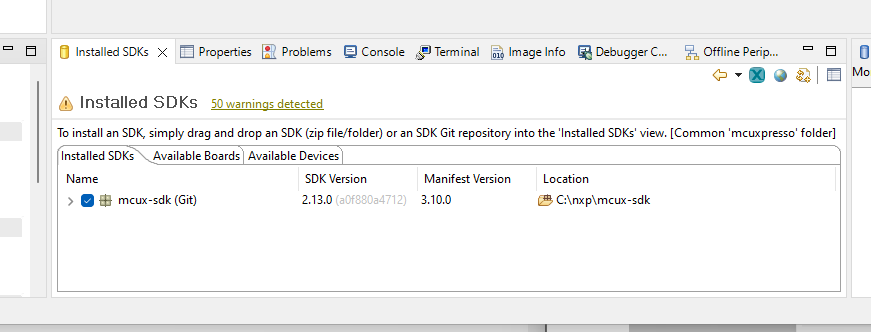
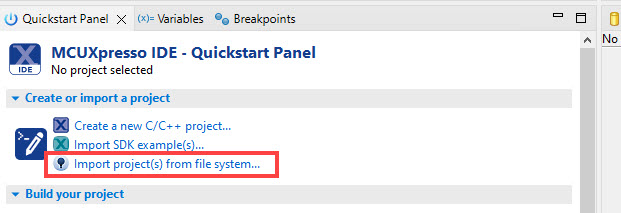
Import the SDK in MCUXpresso IDE
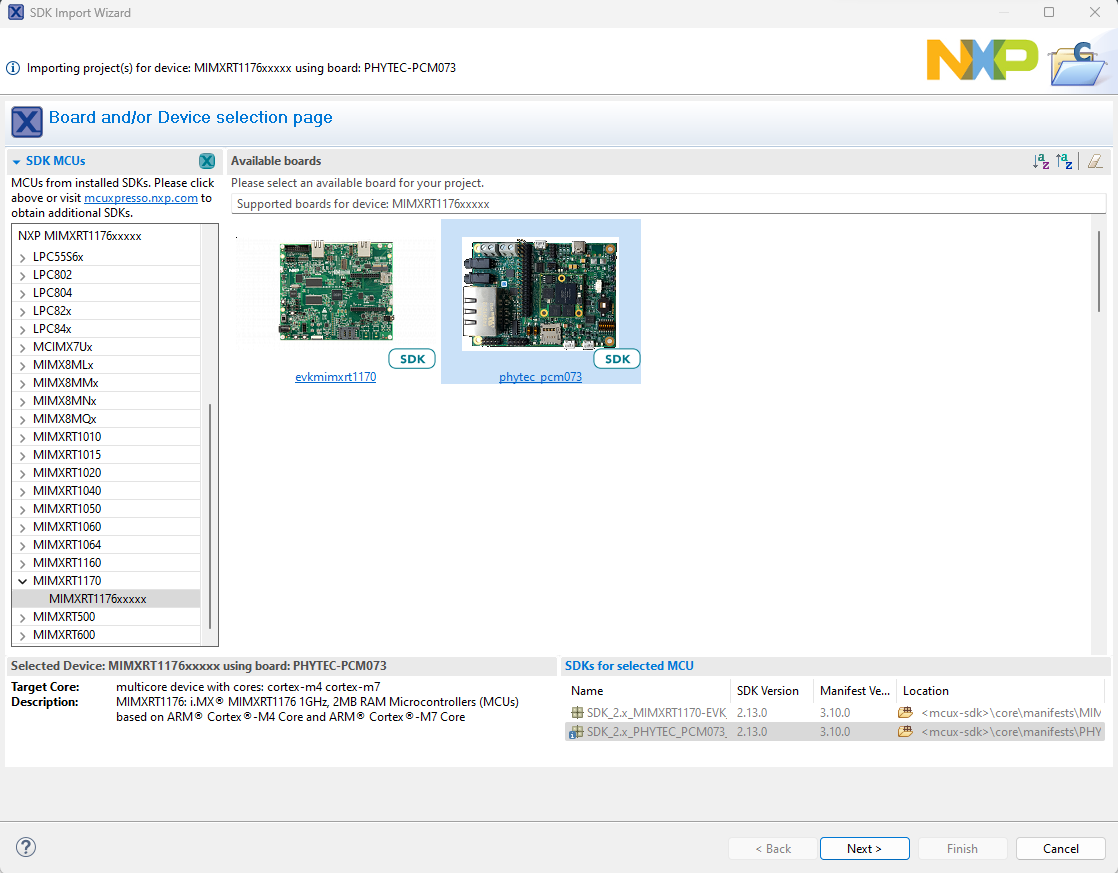
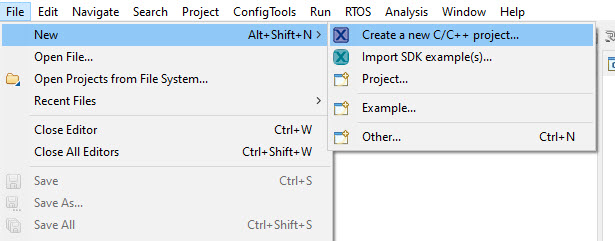
Import PHYTEC Examples
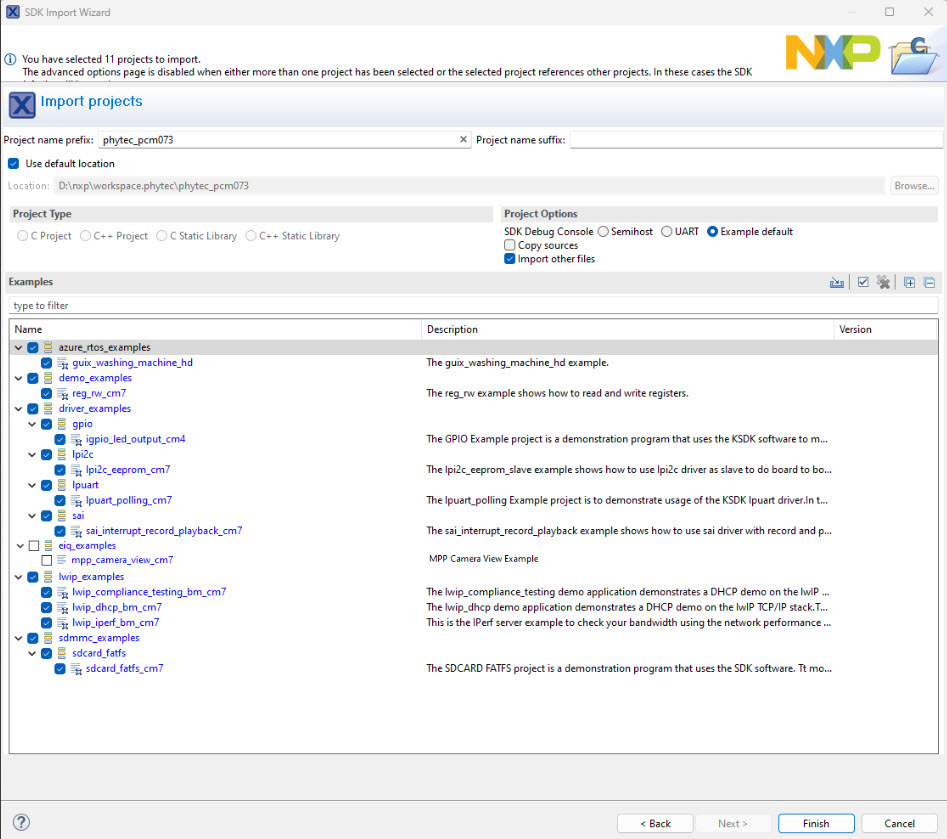
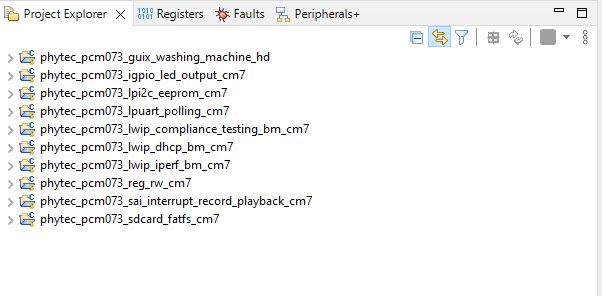
After selecting the phytec_pcm-073 as the reference board. Click the “Next” button. Select examples that are of interest then click “Finish”.
Note
At this time, unselect “Copy sources” for mpp_camera_view_cm7 project. There is an upstream bug on this interface.
