Flash Recovery

At times, the JTAG connection becomes unstable suddenly, and this can happen for unknown reasons. Erasing the entire flash memory may help to restore stability. This guide will be utilizing the NXP MCU Boot Utility.

Host Setup

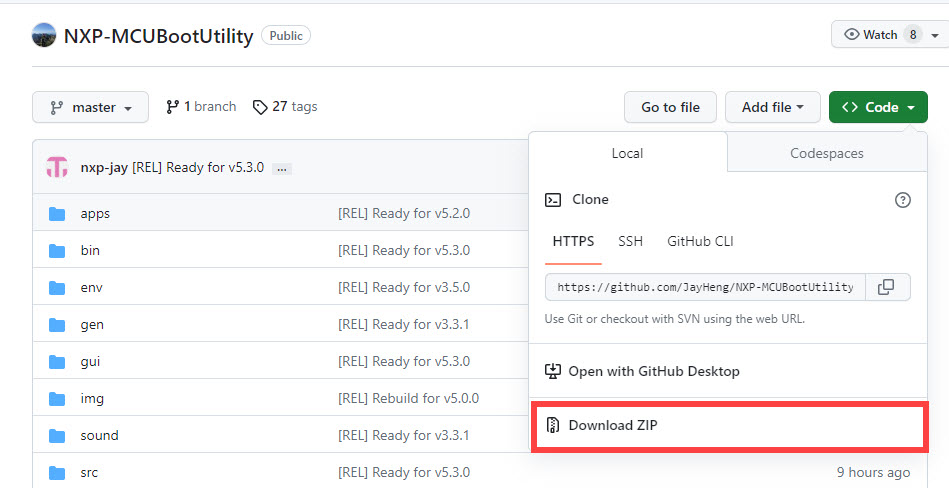
../_images/pb-07326_flash-download-mcuboot.jpg
  • Extract the zip file.

  • Navigate to the bin folder. C:\<The pathway you extracted the zip file>\NXP-MCUBootUtility-master\NXP-MCUBootUtility-master\bin

  • Start the tool by double clicking “NXP-MCUBootUtility.exe”

    Tip

    We recommend muting the volume on your host machine because the audio accompanying the tool can be abrasive.

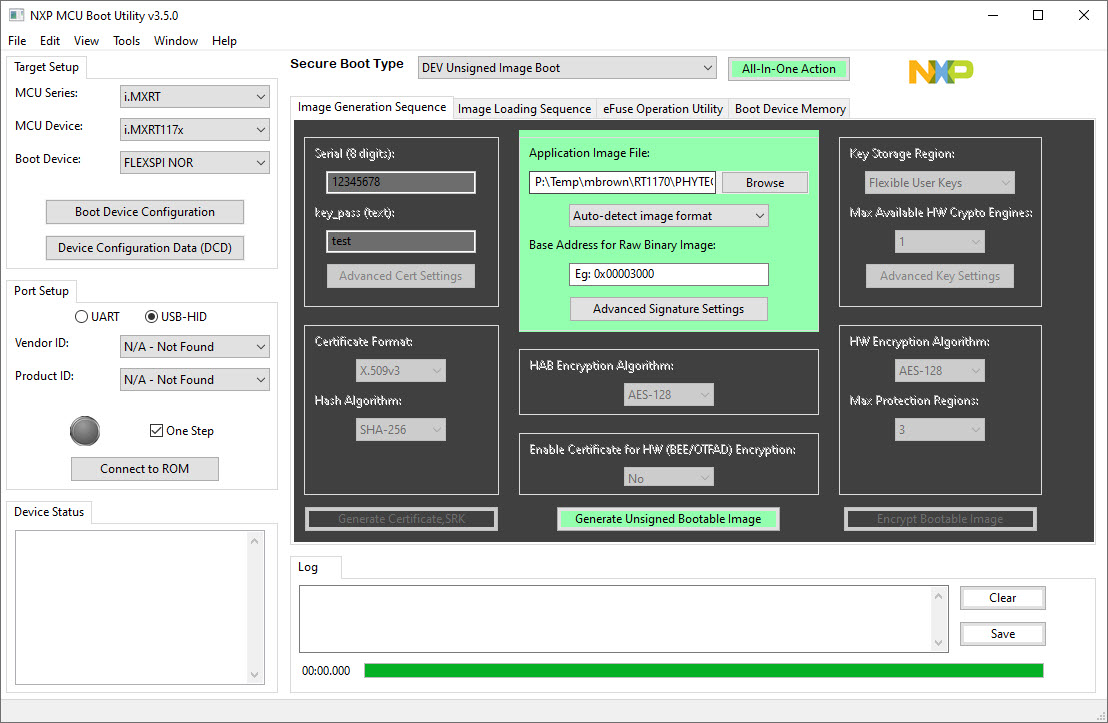
../_images/pb-07326_flash-start-mcuboot.jpg ../_images/pb-07326_flash-mcuboot.jpg

Hardware Setup

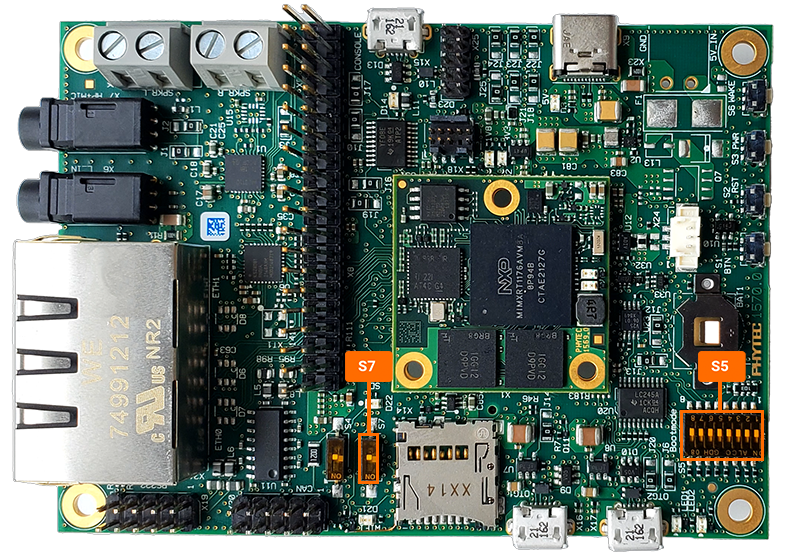
  • Configure the carrier board to boot in USB OTG Serial Download mode.

    ../_images/pb-07326_bs-serial-down.jpg ../_images/pb-07326_S5-callout.png
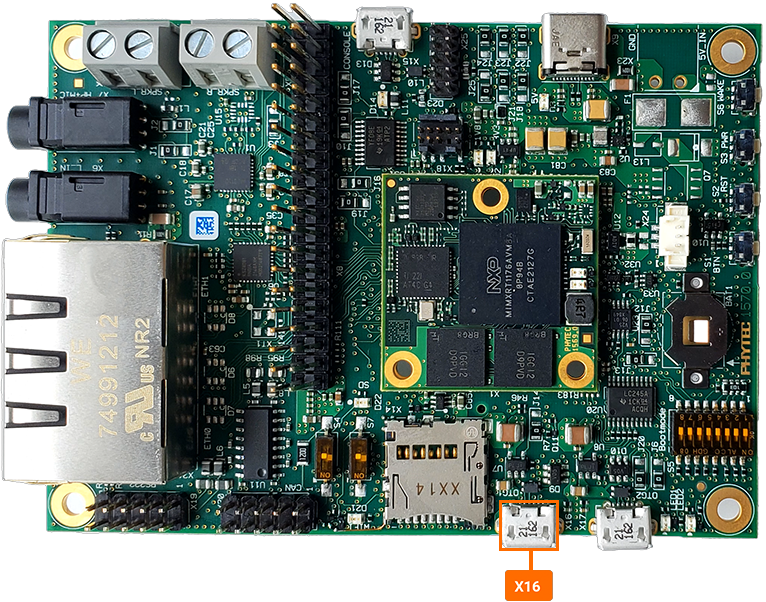
  • Connect a microUSB cable from the Host to X16.

    ../_images/pb-07326_x16-callout.png

Erase Memory

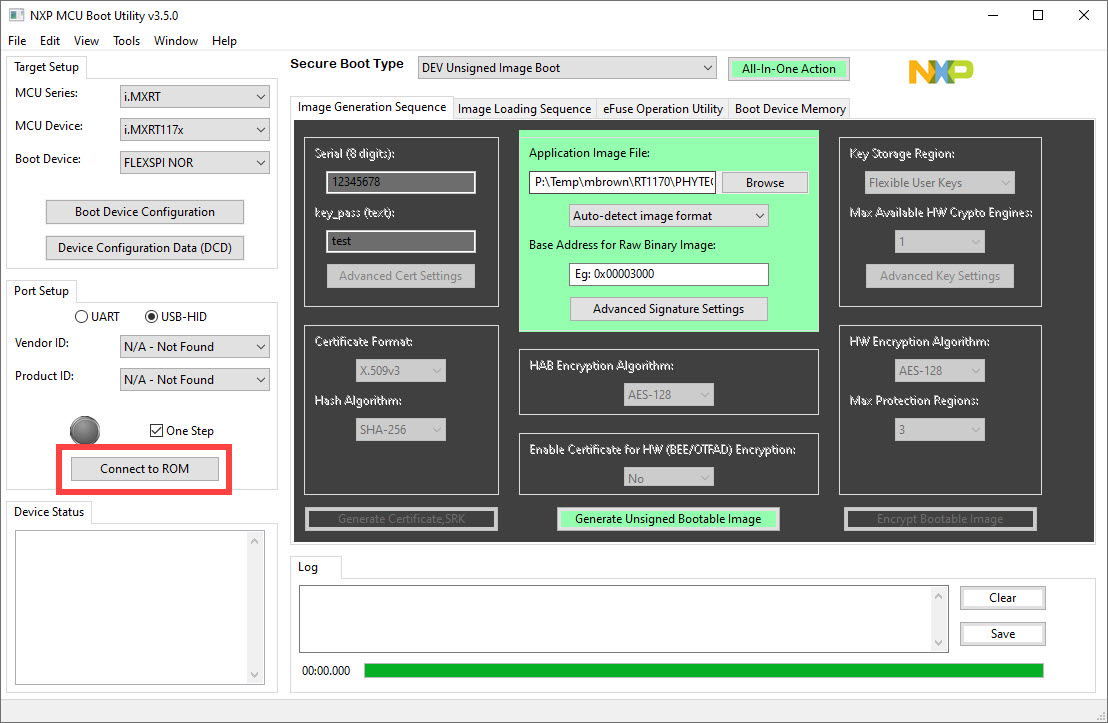
  • Click “Connect to ROM” to connect development kit to the MCU Boot Utility tool.

    ../_images/pb-07326_flash-connectrom.jpg
  • In “Boot Device Memory” tab, click “Mass Erase”.

    ../_images/pb-07326_flash-memory-tab.jpg
  • Verify that content was erased by clicking on “Read”, 0xff should be shown.