Building an Application
This guide will walk you through building an application for the co-processor using the phyboard-lyra-am62xx example from the MCU+ SDK.
Prerequisites
Ensure you have followed the instructions in the MCU+ SDK Host Environment Setup before proceeding.
Step 1: Import the phyboard-lyra-am62xx M4F Example Firmware
Open Code Composer Studio (CCS).
Navigate to the Project Explorer window.
Note
If the Project Explorer is not visible, enable it by going to the View tab and selecting Project Explorer.
To import the project, follow these steps:
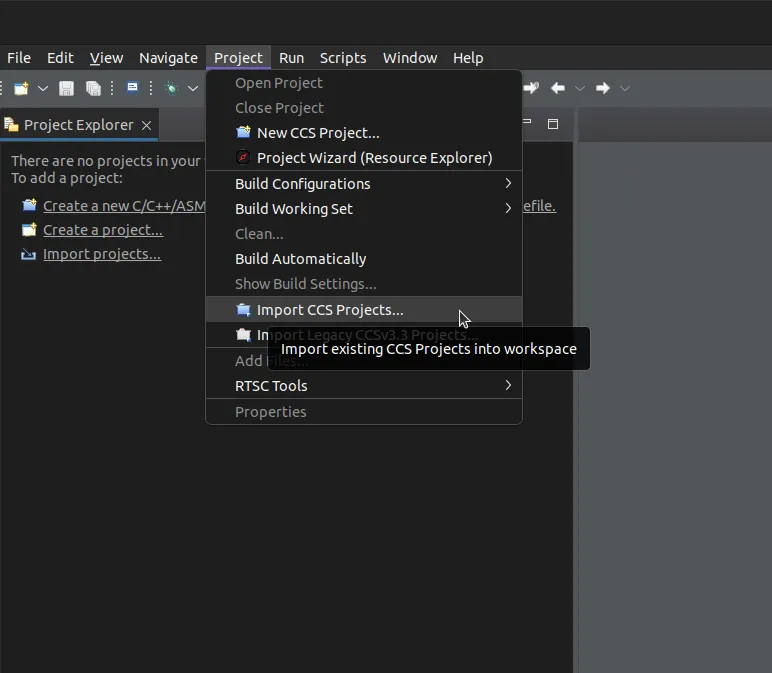
Go to Project -> Import CCS Project.

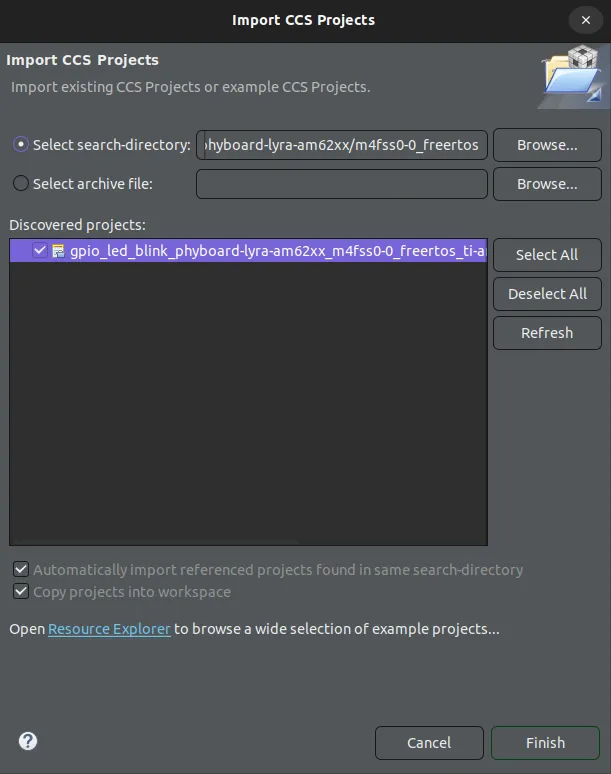
In the Import CCS Projects dialog box, choose Select search-directory and navigate to the following path:
~/ti/mcu_plus_sdk/mcu-plus-sdk/demo/phyboard-lyra-am62xx/m4fss0-0_freertos/
The example firmware should appear as a discovered project. Select it and click Finish.

Step 2: Understand Project Modifications
The phyboard-lyra-am62xx example firmware is configured to run on the phyCORE-AM62x SOM alongside Linux. It includes the following key changes:
Custom Source Code: his example includes a heartbeat blinky routine. The LED blinks at a set interval to indicate the firmware is running.
Inter-Processor Communication (IPC): An IPC routine is implemented to enable graceful shutdown of the firmware when Linux stops the co-processor via the remoteproc interface.
linker.cmd: Adjustments have been made to enable Inter-Processor Communication (IPC) between Linux and the M4 core.
example.syscfg: Changes to this file enable IPC and select the appropriate GPIO pin for the LED on the SOM.
You can compare the phyboard-lyra-am62xx files with the corresponding am62x-sk files to see the specific modifications.
Step 3: Build the Project
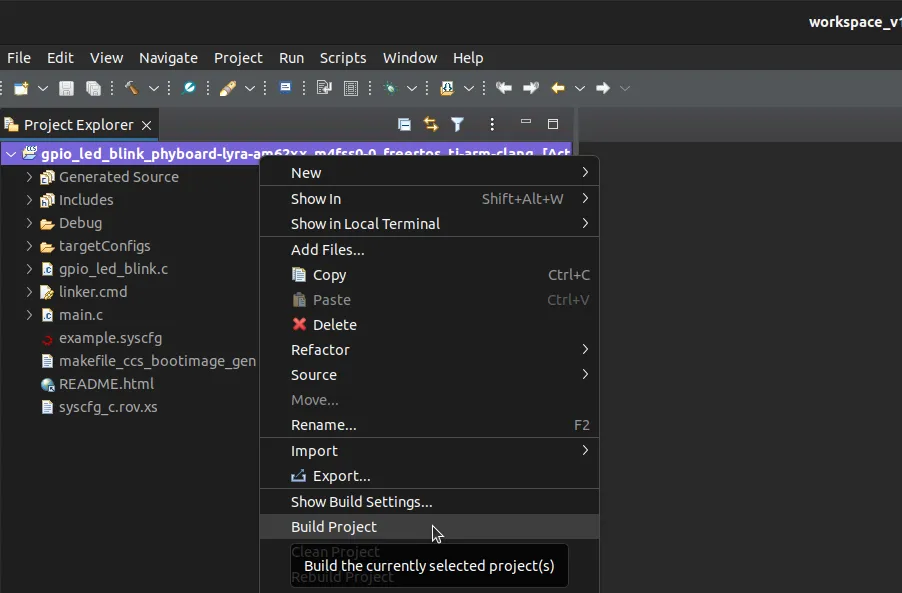
In the Project Explorer, right-click the imported project name and select Build Project.
Note
This will compile the example firmware and generate the necessary binaries.

Once the build is complete, the output binary can be found in:
Debug/demo.mcu-m4f0_0.strip.out